
A few weeks ago our little daredevil had her first x-ray due to a little jumping on the bed incident. Yup 1 little monkey jumping on the bed, she fell off and bumped her head… broke her clavicle. Well ever since, she has been fascinated with the bones inside her body so there couldn’t be a better time to dive into a unit about our body.
**This post contains affiliate links for your convenience. View our full disclosure policy here.**
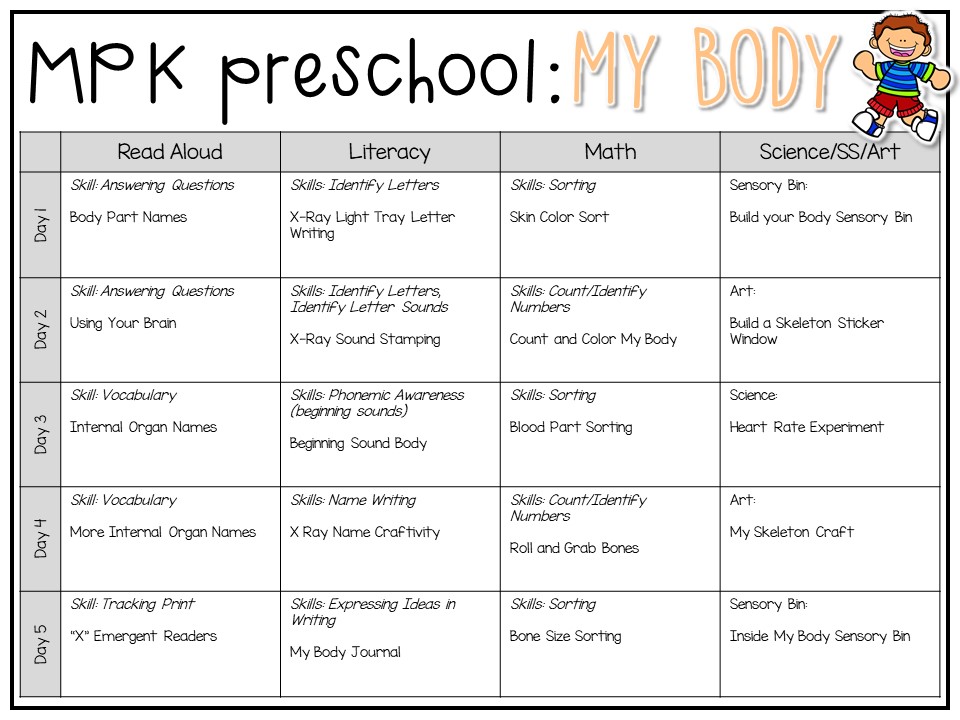
Here were our plans for our My Body theme:
And here are the details for each activity:
Body Part Names:
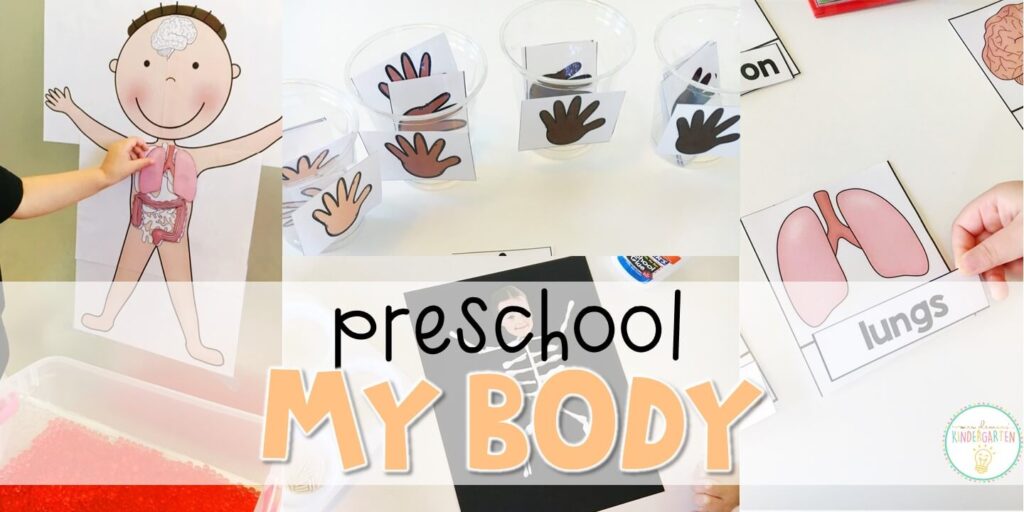
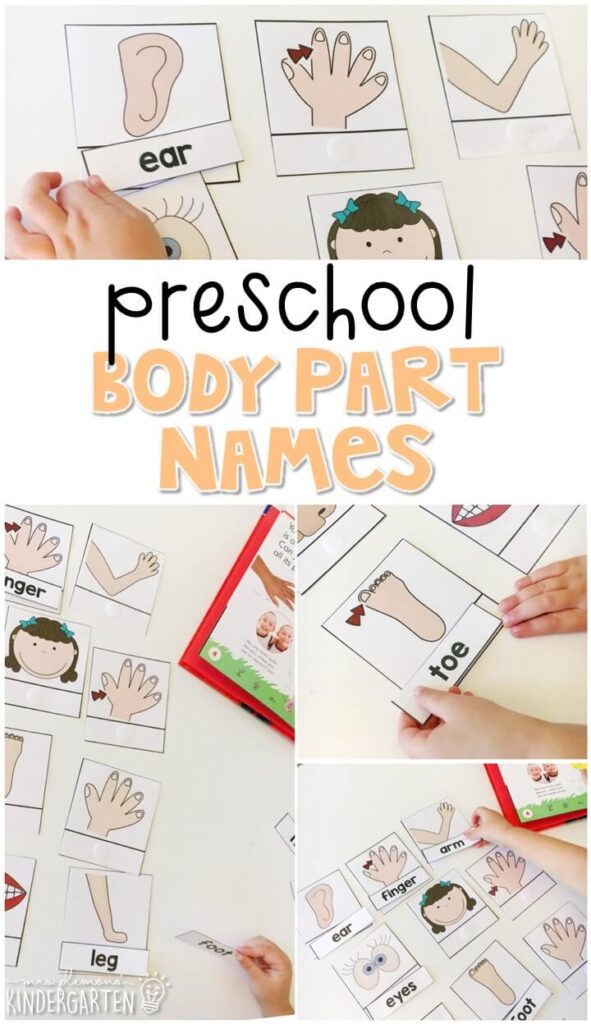
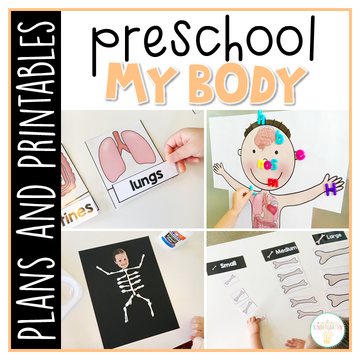
This week we focused on one really great book for our body theme, My Body by Andrea Pinnington. There is so much information inside that we broke it down into a few pages each day. The first day we read about our body parts, hair and skin. Then we matched the words to the pictures of each part.
Body Part Labeling:
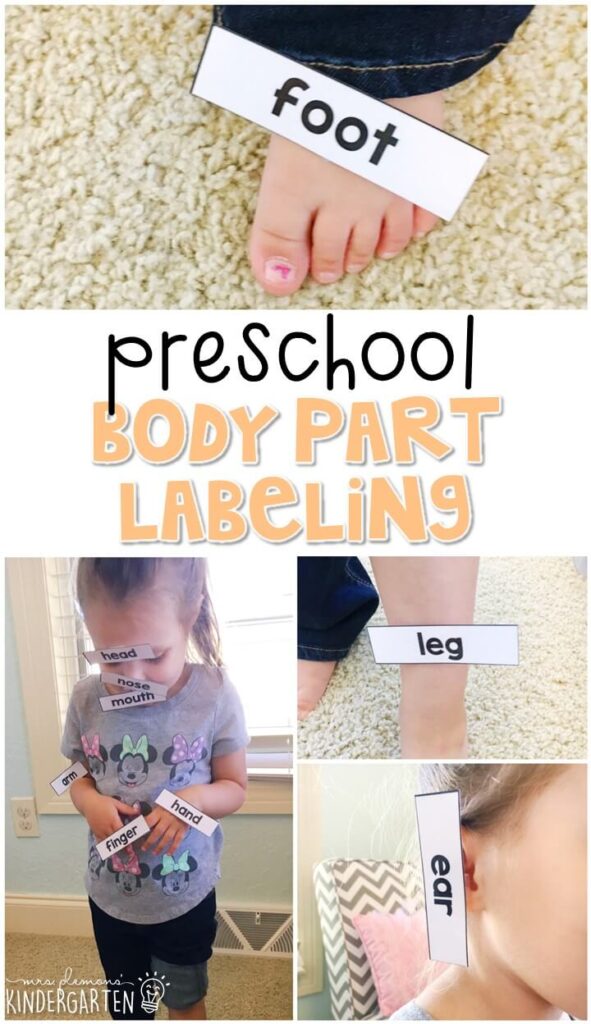
For more fun we took the word labels and stuck them to the correct parts of our body. Then Madelynn chased her sister around and tried to label her but she was not having it!
Using Your Brain:
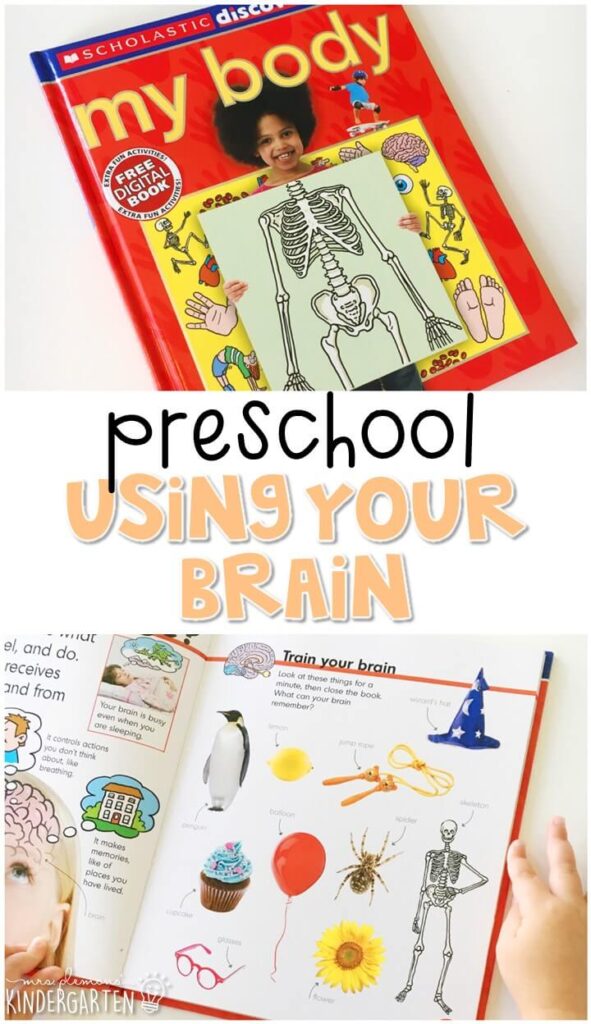
Next we read about our bones and brain. After reading about our brain, we tried out the memory activity in the book. Madelynn had 1 minute to try to remember everything on the page before I covered the picture and she tried to tell me each item.
Body Part Names:
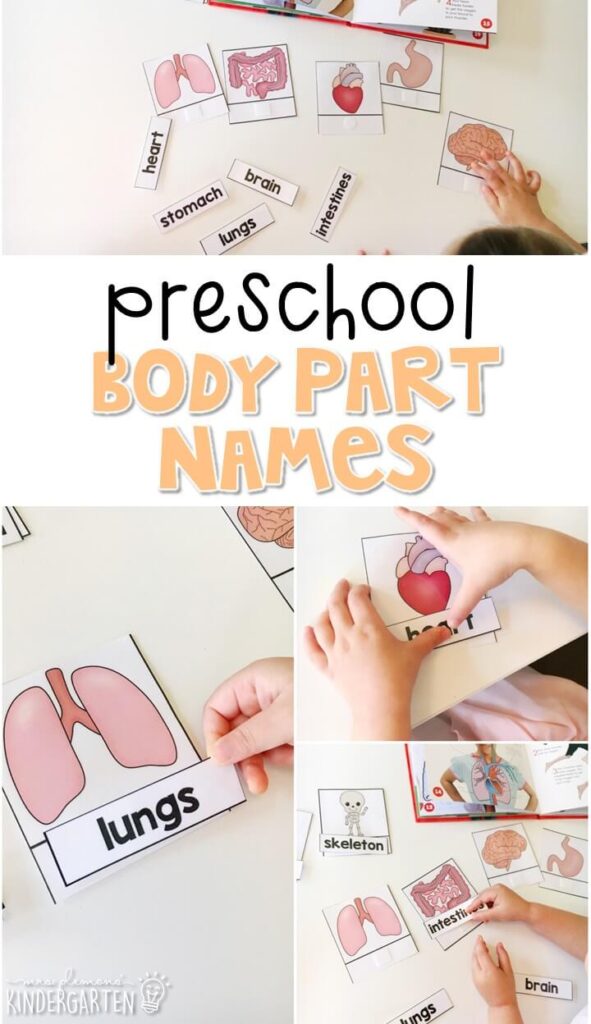
Next up, we read about various internal organs and what they all do inside our body. Then we matched each of those words to their pictures.
Body Part Labeling:
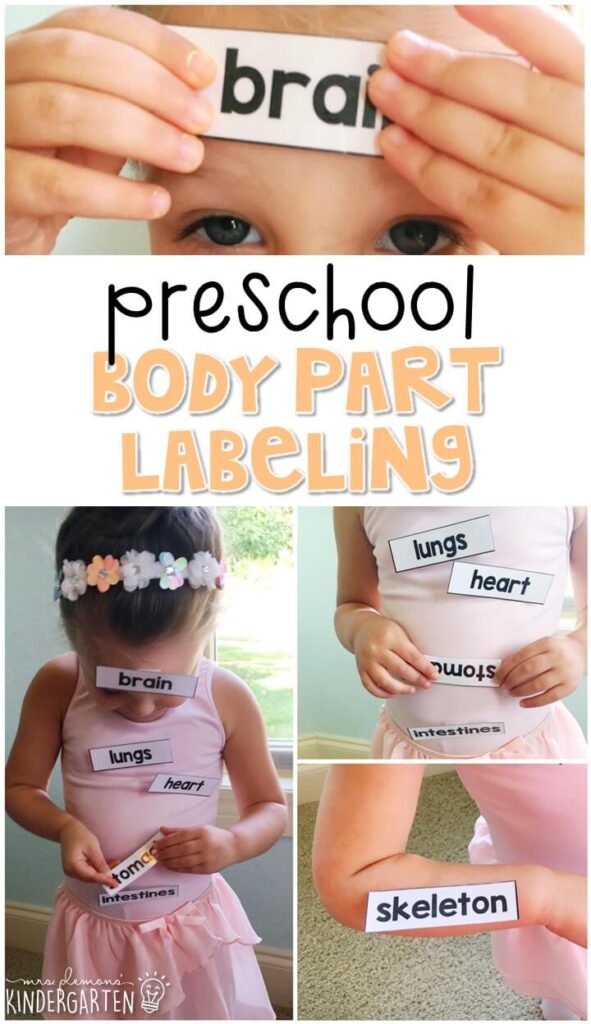
And of course we tried to stick them to our body to show each body parts location as well.
Tracking Print:
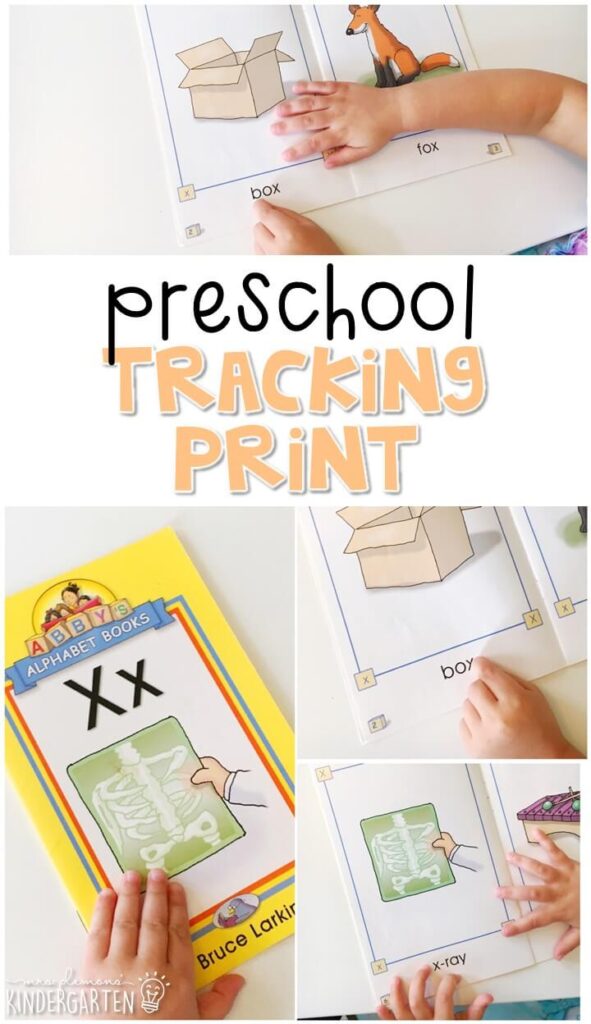
We ended the week with the letter X book from Abby’s Alphabet Book Series. Madelynn identified the picture then pointed to each word as she read. I also had her point to the letter x in each word because many of the words ended in x, rather than started with it. we practiced making the x sound and listening for it at the end of the word.
X-Ray Light Table Letters:
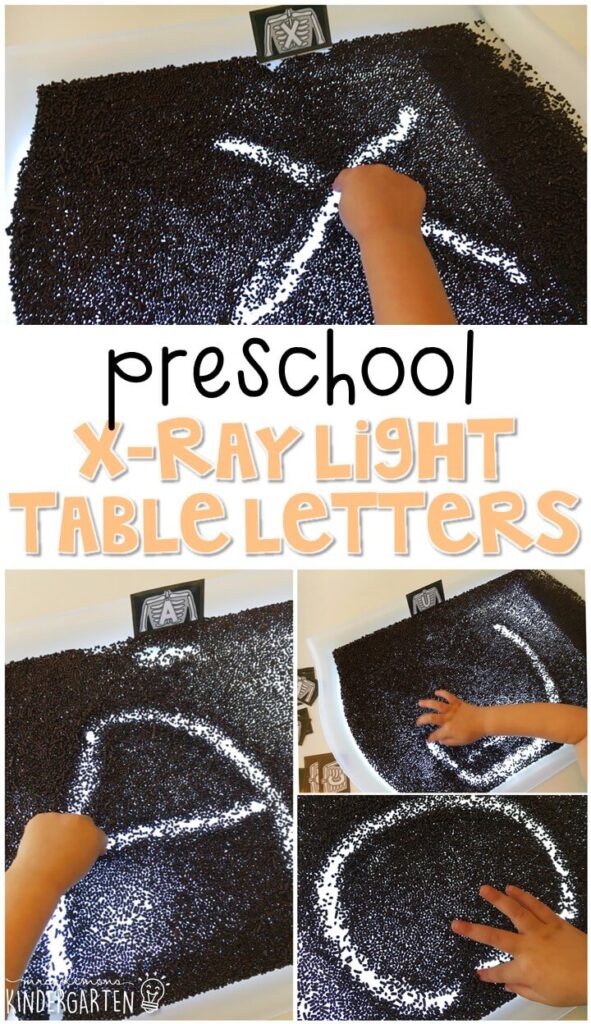
Our first literacy activity this week was writing letters on an x-ray themed sand tray. Except I couldn’t find black sand at the craft store, so I placed our IKEA tray on top of our light pad then filled it with chocolate sprinkles. Madelynn used letter cards as a model to write letters with her finger. She chose which letters she wanted to practice and used her finger to write them.
X Sound Stamping:
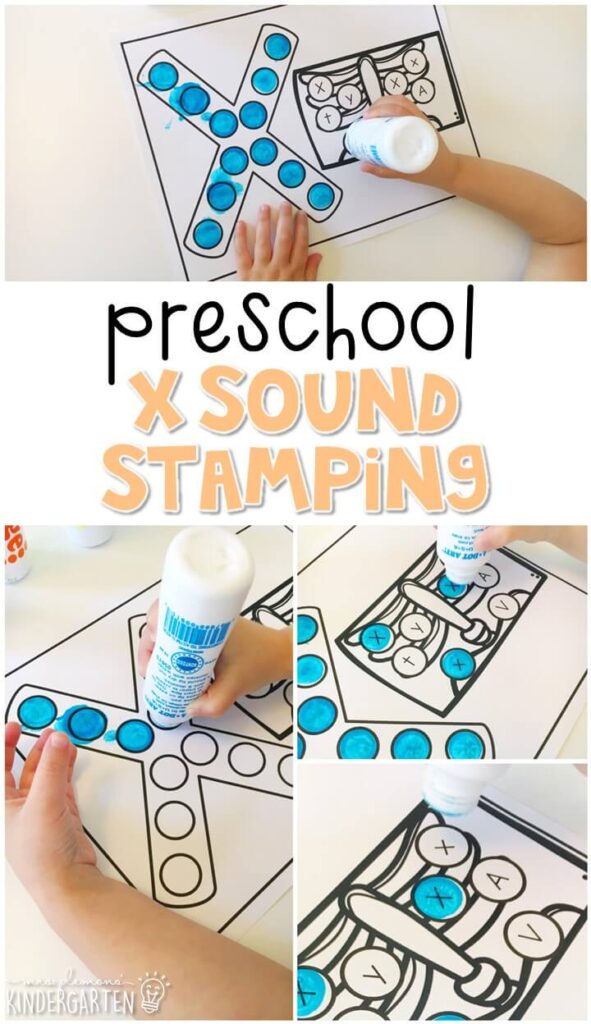
Next, for more letter practice we used our dot stampers. We started out stamping inside the letter to make an X. Then Madelynn had to find the upper and lowercase x’s in the x-ray, stamp them and make the x sound each time.
My Body Beginning Sounds:
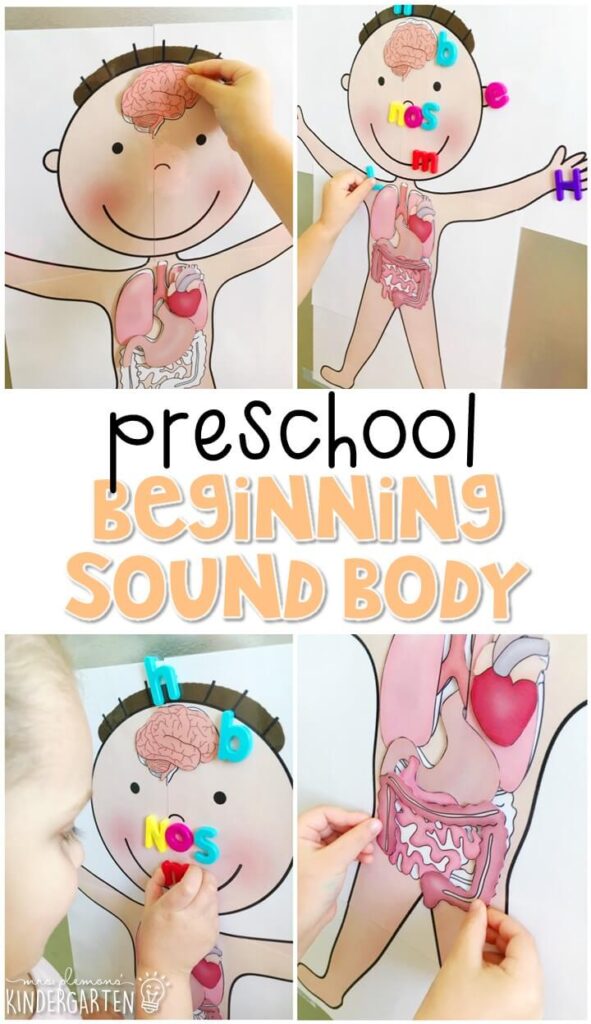
To practice beginning sounds, I made this large body with outlines of the internal organs. First Madelynn named and matched the organs to the right spot in the body. Then we used magnet letters to label the beginning sounds (and sometimes more) for each word.
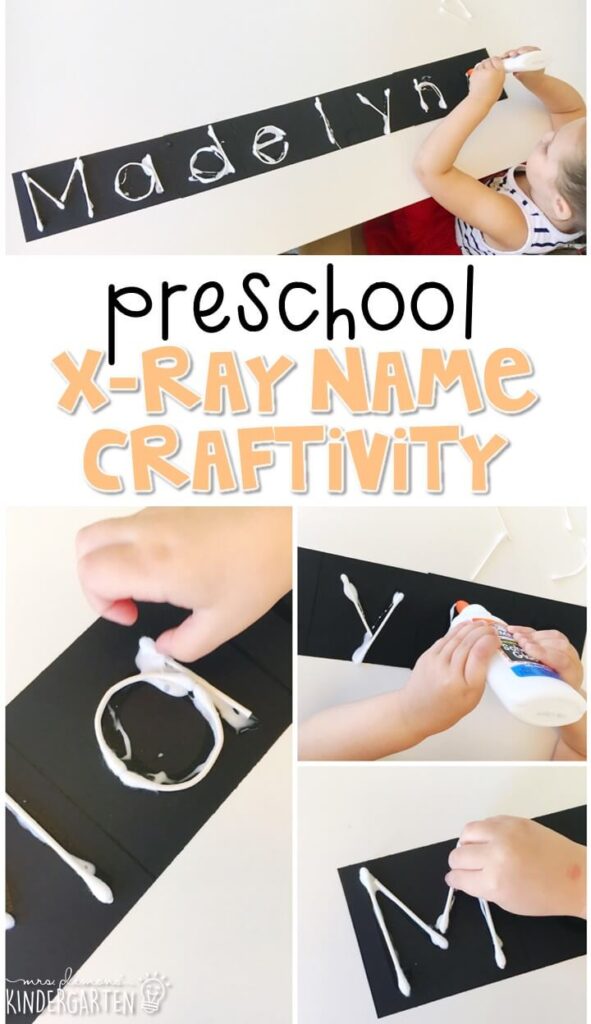
X-Ray Name Craft:
This week for our name practice, Madelynn made x-ray letters. First, I printed her name in black on black cardstock, so it was barely visible. Next, she bent and glued cotton swab “bones” on top of each letter to build her name.
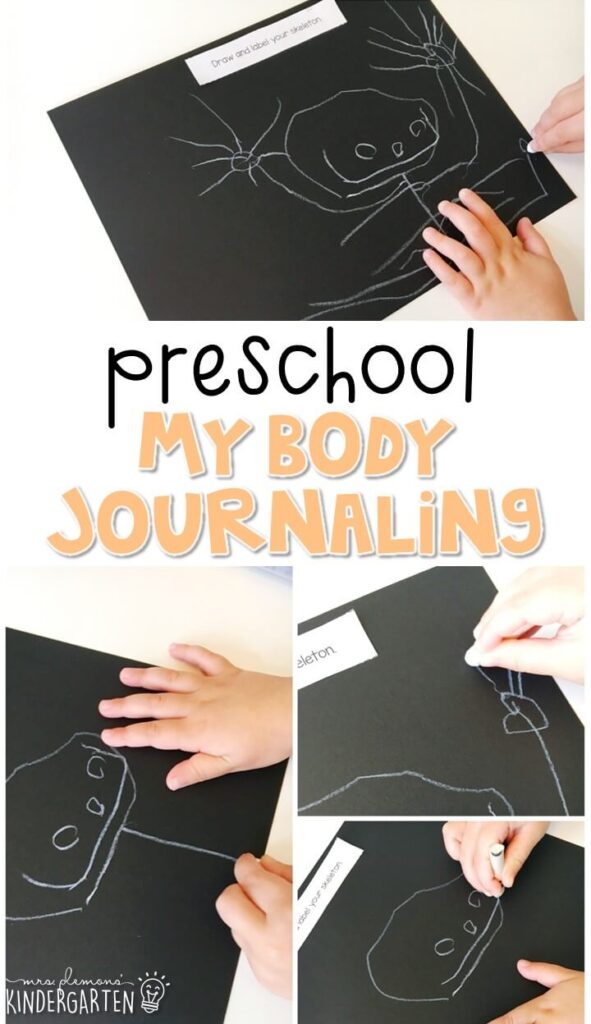
All About Me Journal Writing:
For our journal this week Madelynn chose to her skeleton. She looked at the picture from our book as she drew her picture. Then she wrote a few “O”s at the top of the page for the word bOnes. 😉
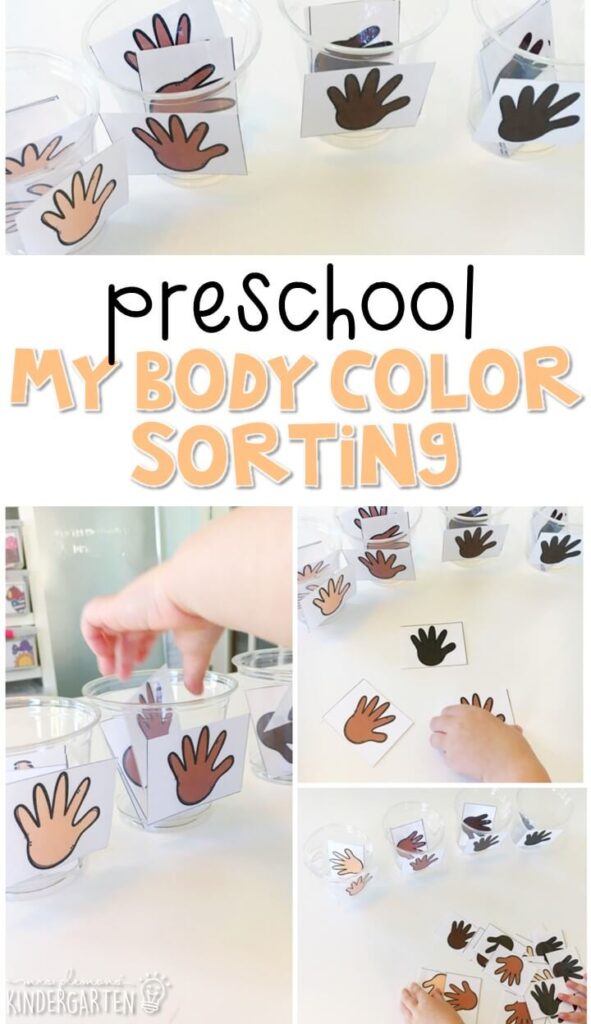
My Body Color Sorting:
This week’s math focus was sorting by one attribute so we started out with this skin color sort. Madelynn has just started noticing that different people have different skin tones, so we talked about skin color a bit and then sorted hand cut outs by color.
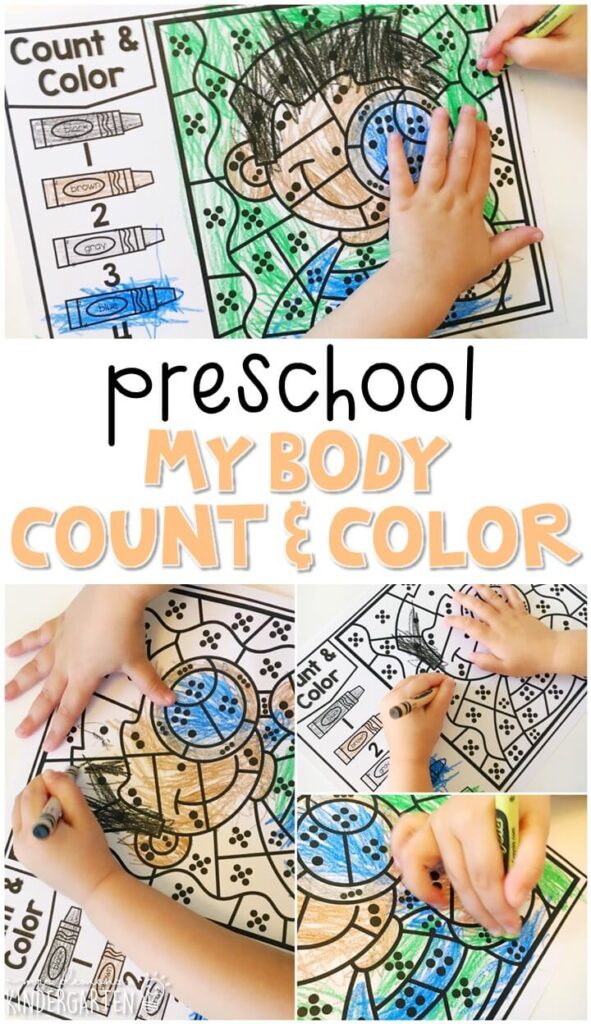
My Body Count and Color:
Each week we continue to focus on numbers and counting so we practiced both with this color by code activity. Madelynn counted each group of dots then followed the directions to make each spot the correct color.
Blood Part Sorting:
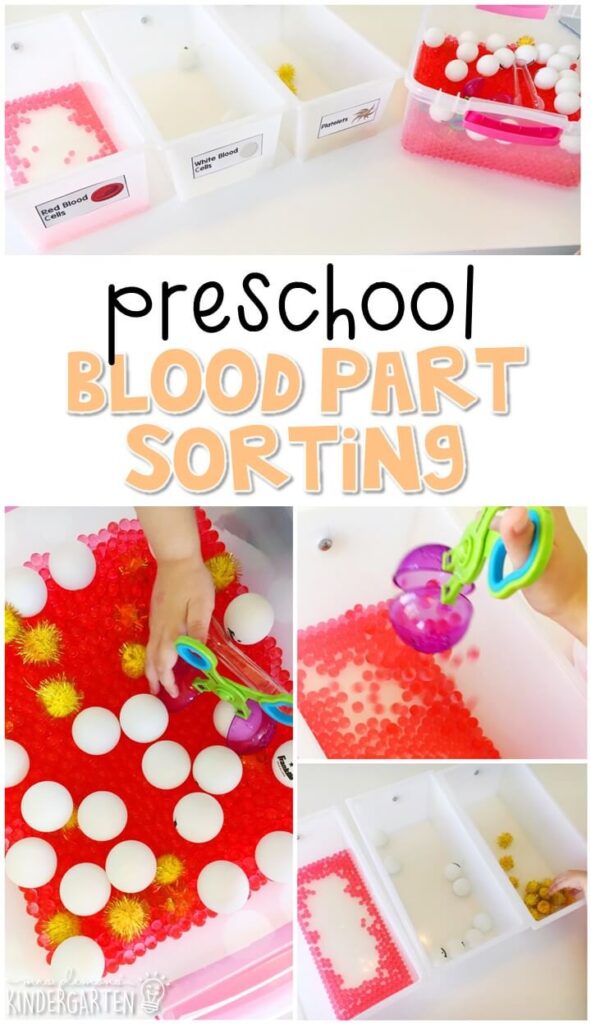
After talking about our heart and blood, I created this bin for Madelynn to see that blood has many parts. I used red water beads for red blood cells, white ping pong balls for white blood cells, and yellow glitter pom poms for platelets. Madelynn used her fine motor tools to grab and sort all of the different parts.
Roll and Grab Bones:
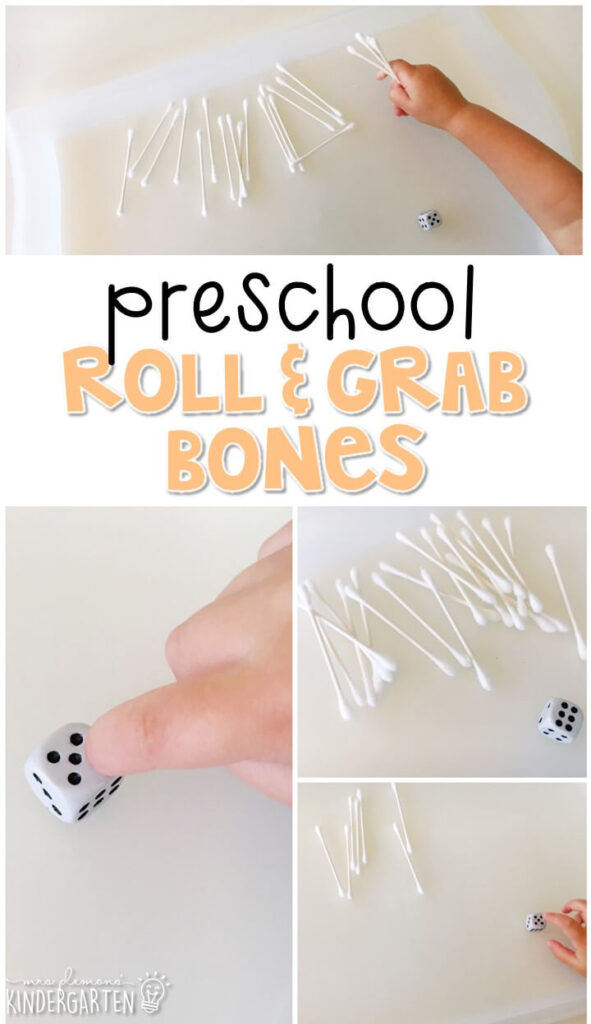
This game was SO simple I might have to pack it up in my purse as a go to game for restaurants and waiting rooms. First I laid 20 cotton swab “bones” on the table. Then we took turns rolling the die and taking that many bones. the winner is the one that rolls the correct number to take the final bones.
Bone Size Sorting:
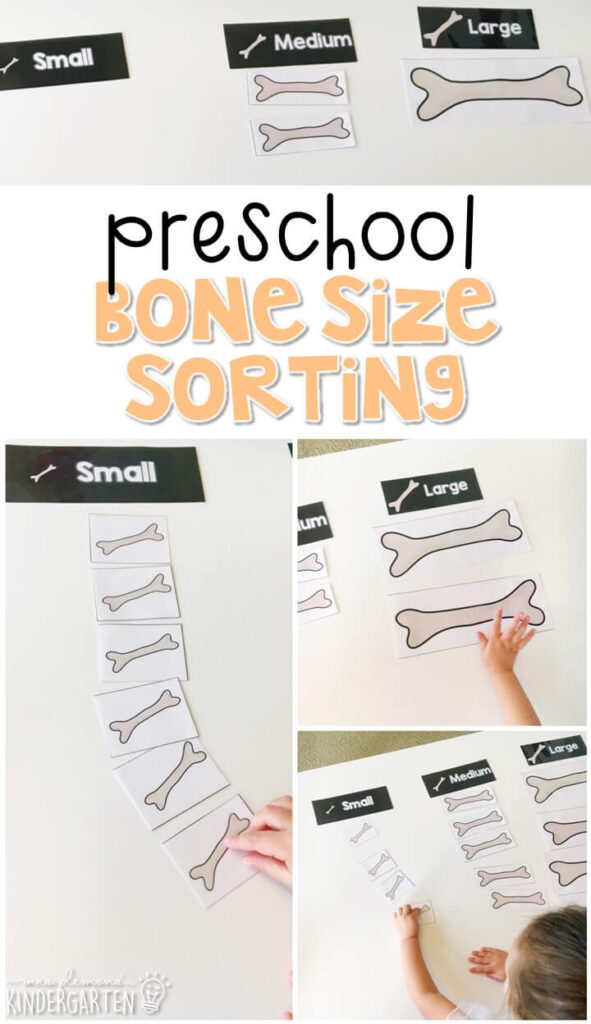
Our last sorting activity this week was sorting by size. I printed out small, medium and large bones as well a a few headers and Madelynn sorted them into the correct spot.
Build Your Body Sensory Bin:
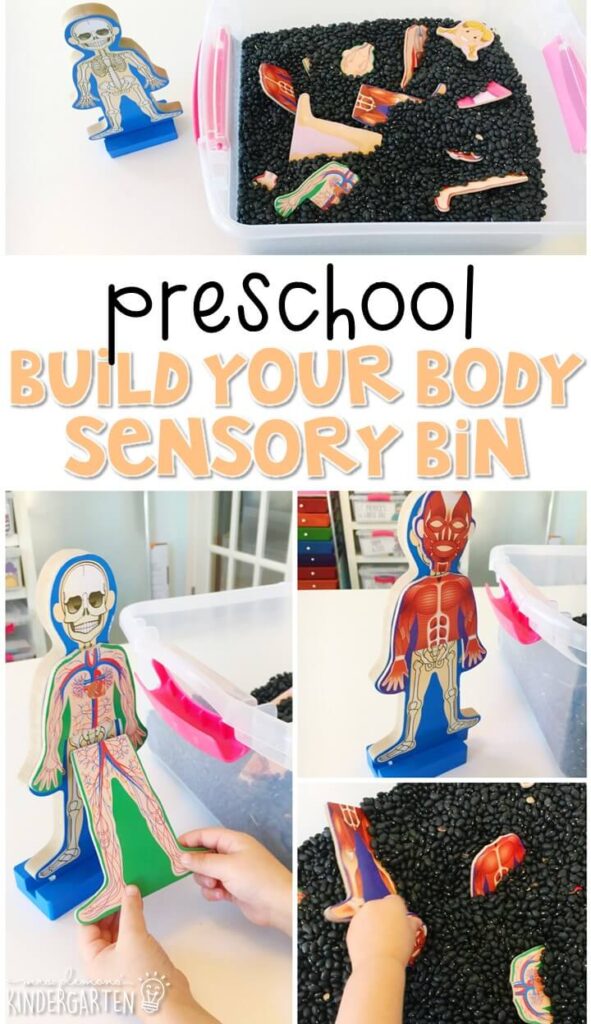
I found this AWESOME set of Human Body Magnets from Melissa and Doug that I had to have for our body unit. There are pieces for all of the the various body systems showing the skeleton, blood, internal organs and more. Just an FYI that there are very simplified versions of anatomically correct boy and girl parts. I love that this gives me an easy way to talk about how boys and girls are different with my daughter since we have 2 little girls and questions haven’t come up naturally yet.
Build Your Skeleton:
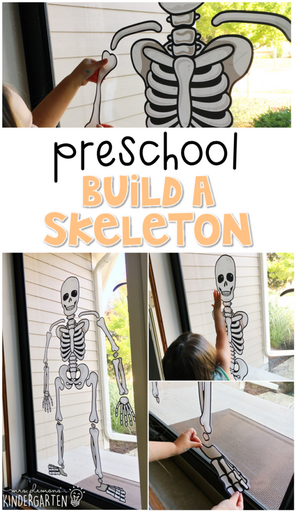
Another amazing item I found for this week was this build a skeleton wall decal set. They are super sturdy vinyl stickers that peel and restick easily from walls and windows. Madelynn loved building her own skeleton by putting all the bones in the right place!
Heart Rate Experiment:
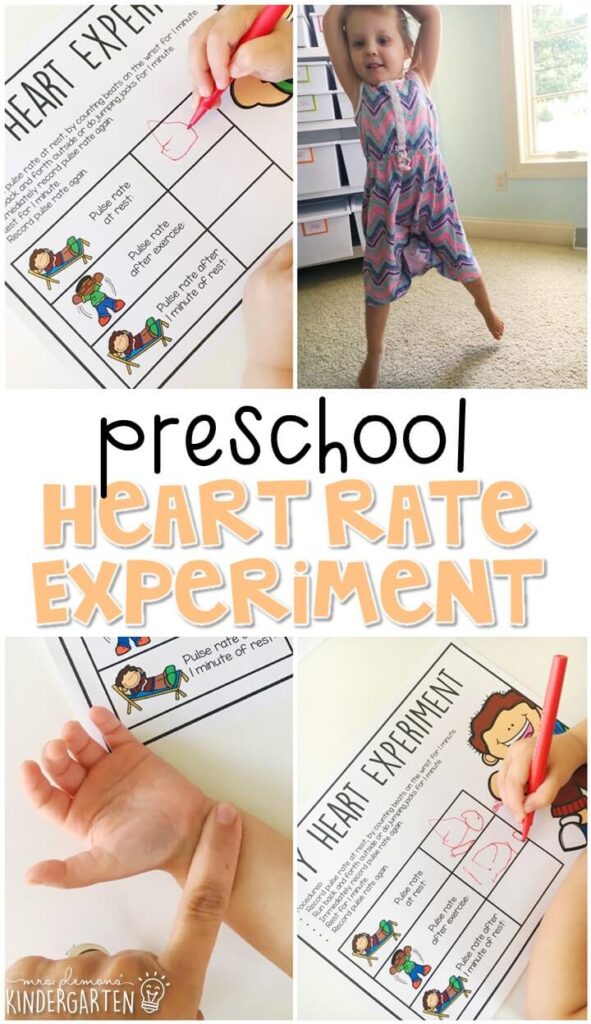
Next we did a very simple experiment to talk about how our heart works and why exercise is important. First I helped count and record Madelynn’s pulse rate at rest, by counting beats on her wrist for 1 minute. (Actually we did 15 seconds then multiplied it by 4, because finding a preschooler’s pulse is hard, but getting them to sit still and quiet for one full minute is even harder!) Then I had her do jumping jacks for 1 minute. Next I immediately recorded her pulse rate again. Finally after resting for 1 minute, I helped to record pulse rate again.
My Skeleton Craft:
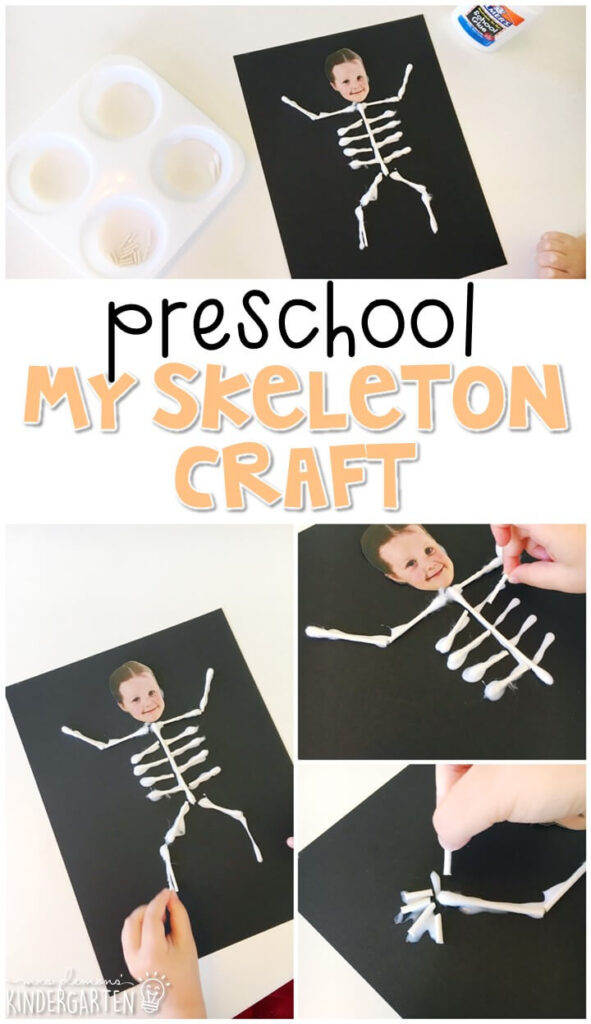
After her little fall, Madelynn sure does love talking about her bones, so she loved making her own little skeleton with her face for the skull. I cut cotton swabs in various sizes and Madelynn chose which pieces she needed, then glued them into a skeleton.
Inside My Body Sensory Bin:
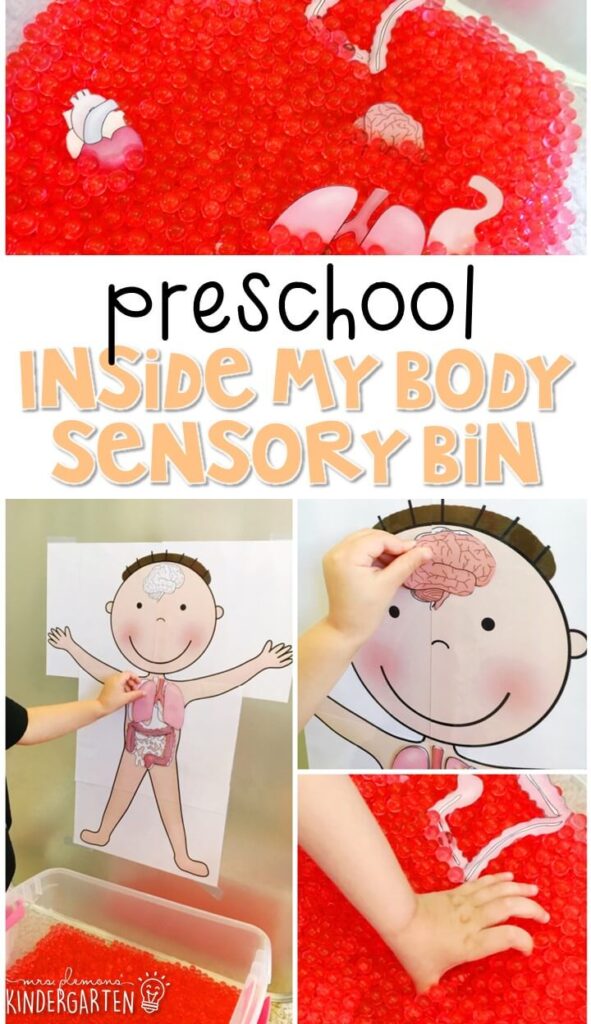
In this bin: red water beads, organ pieces, body outline Madelynn had to dig in the red blood (okay a little gross I know, but she loved it) to find the organs and match them to the right place in the body. I used magnet tape on the back of each piece and place the body outline on our large oil drip pan for easy finding and sticking that worked with the wetness of the beads.
Want all of this week’s My Body activities for preschool? You can grab them here:
On my site : My Body Plans & Printables On TpT: My Body Plans & Printables
Or you can grab our entire year of themes and plans:
On my site here: Tot School Bundle On TpT here: Tot School Bundle
Then check out the rest of our 45+ themes on the Preschool Curriculum Main Page.

FREE Printable Shape Roads!

Sign up for ideas, tips & exclusive FREEBIES delivered right to your inbox!

Where can I download the printables?
I am still working on finalizing and posting all of my preschool themes. This theme will be available hopefully by the end of the month. You will be able to find it here along with all of the themes currently available:
https://www.teacherspayteachers.com/Store/Mrs-Plemons-Kindergarten/Category/-Preschool-309525
Hope that helps!
Love all your ideas! Will be great if you can share where I can find the printables for the “preschool body part names” activity!
You can find all the printables here: https://www.teacherspayteachers.com/Product/Preschool-My-Body-Plans-and-Printables-3682826
Hi Jessica,
Can your LO read? I noticed some of this seemed as if the child was reading, and some activities had her matching words to images. What age would you recommend for this Preschool series? TIA!
My daughter was reading at an early kindergarten level around age four so yes she was reading. I recommend my preschool curriculum starting around age 3. I started it with my oldest when she was almost 4, and my next daughter was only 3 and a half and not reading at all, just recognizing most letters and a hanful of sounds. It can work for both levels, you just need to modify the level of support given to the child.