We are still recovering from sugar overload here, with round 2 of trick or treating still to go tomorrow. I’m beyond exhausted but so excited to share all of our preschool Halloween fun.
**This post contains affiliate links for your convenience. View our full disclosure policy here.**
Here were our plans for our Halloween theme:
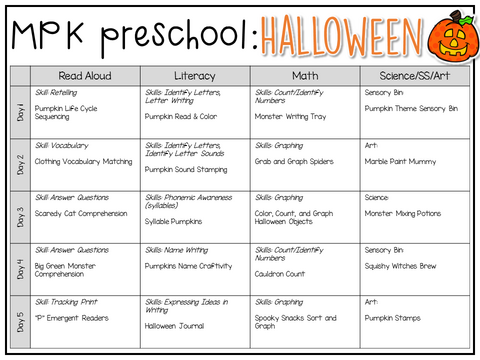
And here are the details for each activity:
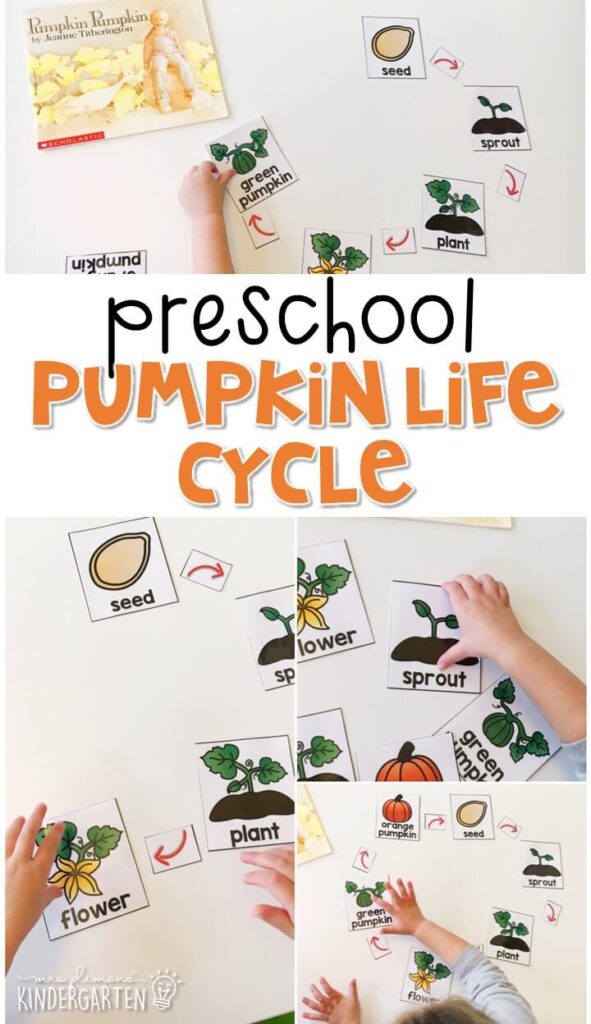
Pumpkin Life Cycle:
Our first read aloud was Pumpkin, Pumpkin by Jeanne Titherington. This book describes the life cycle of a pumpkin from the beginning to end. Afterwards Madelynn practiced retelling the life cycle using picture cards.
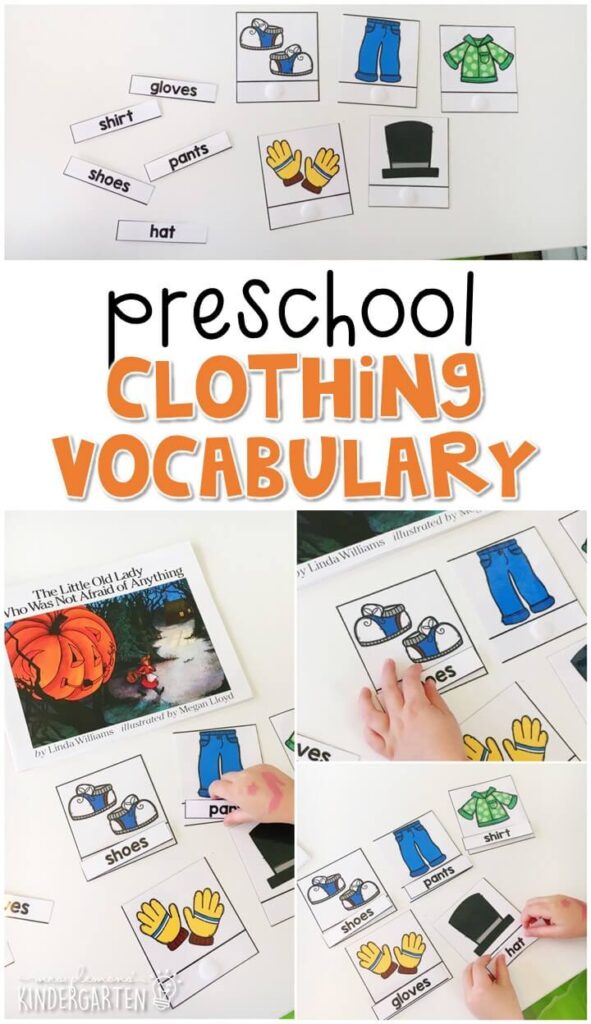
Clothing Vocabulary:
Next we read The Little Old Lady Who Was Not Afraid of Anything By Linda D. Williams. After reading we used cards to match clothing words to pictures. I emphasized the beginning sounds to help her choose and match the correct word to the picture.
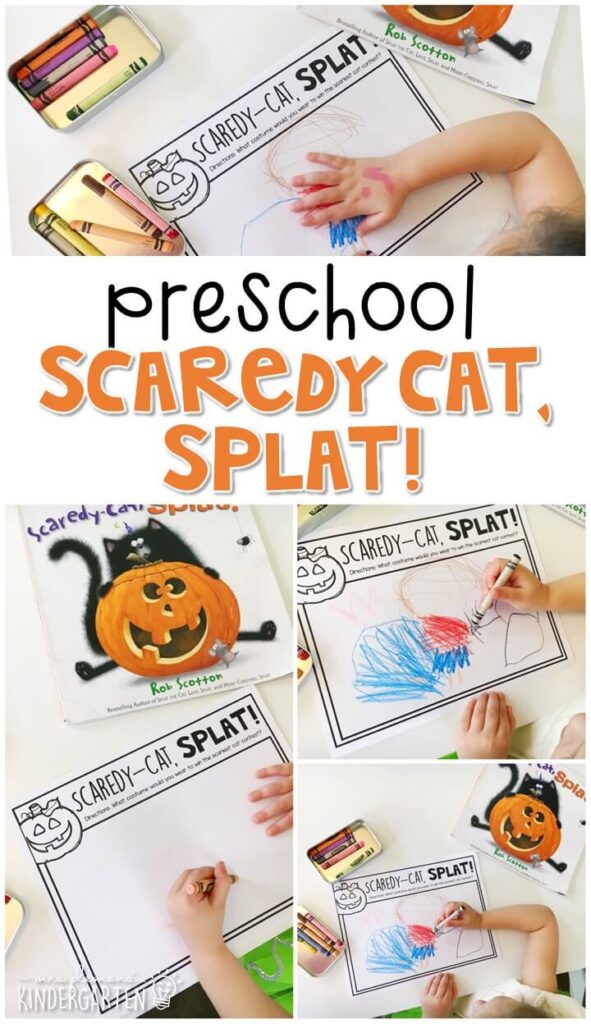
Scaredy Cat, Splat!
Splat the Cat is one of our favorite picture book characters, so I knew we had to read Scaredy Cat, Splat! by Rob Scotton this week. After reading, Madelynn and I talked about what costume she would want to wear to school to win the scariest cat contest. She decided on Wonder Woman, not too scary but she drew the cutest picture of herself with a cape and I couldn’t argue with that!
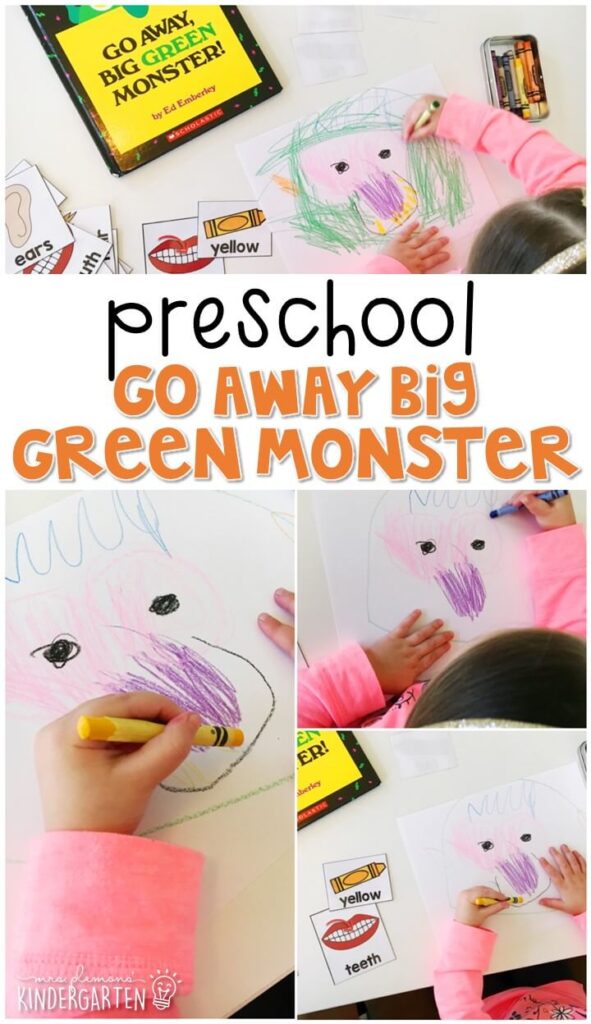
Go Away Big Green Monster:
And last we read Go Away Big Green Monster by Ed Emberley. I love the simple bright colored paper cut out illustrations in this book so after reading we made our own Big Green Monsters by choosing cards for each color and facial feature. Madelynn chose blue/hair, pink/eyes, purple/nose, orange/ears, black/mouth, and yellow/teeth. This was a fun way to encourage her to add new and different details to her drawings.
Tracking Print:
Our last book was the This Pumpkin from the Scholastic Guided Science Readers set. Madelynn is starting to read easy level A books with patterned text. First, I read the left page to her then I asked her to try the right page. She asked me to read, so I read “This pumpkin is…” and paused, then she read the last word. She did a great job using picture clues to read the words.
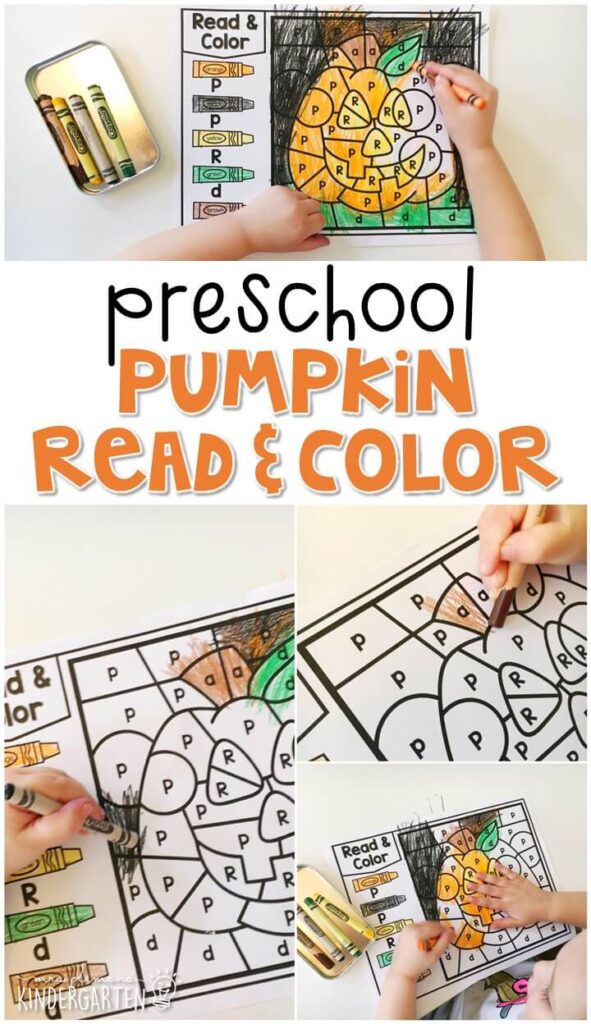
Pumpkin Read and Color:
This week we focused on the letter P so we started with this color by code activity. Madelynn identified each letter then followed the directions to make each spot the correct color.
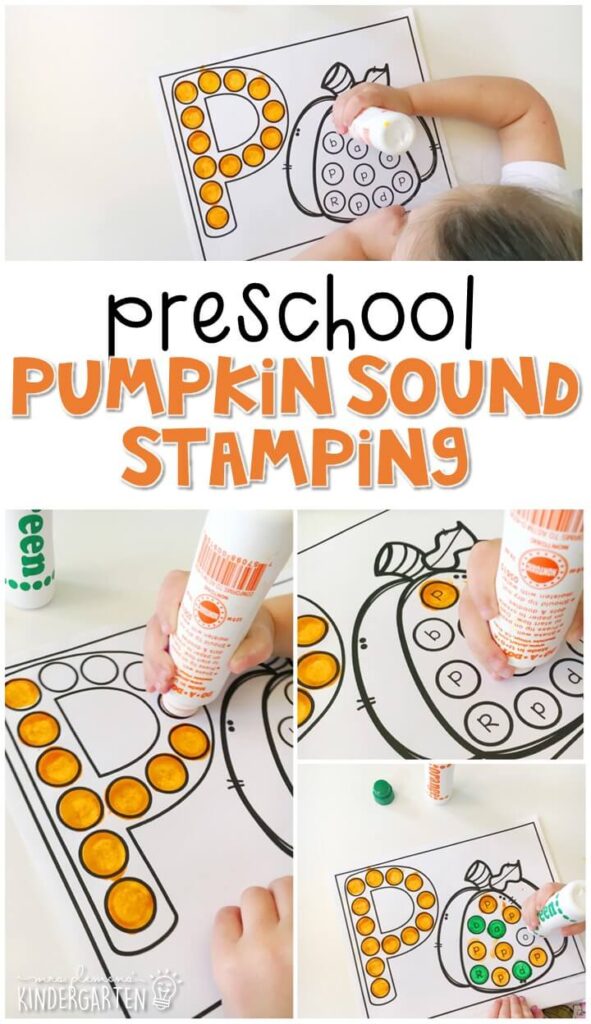
Pumpkin Sound Stamping:
Next, for more letter practice we used our dot stampers. We started out stamping inside the letter to make a P. Then Madelynn had to find the upper and lowercase p’s in the pumpkin, stamp them and make the “P” sound each time.
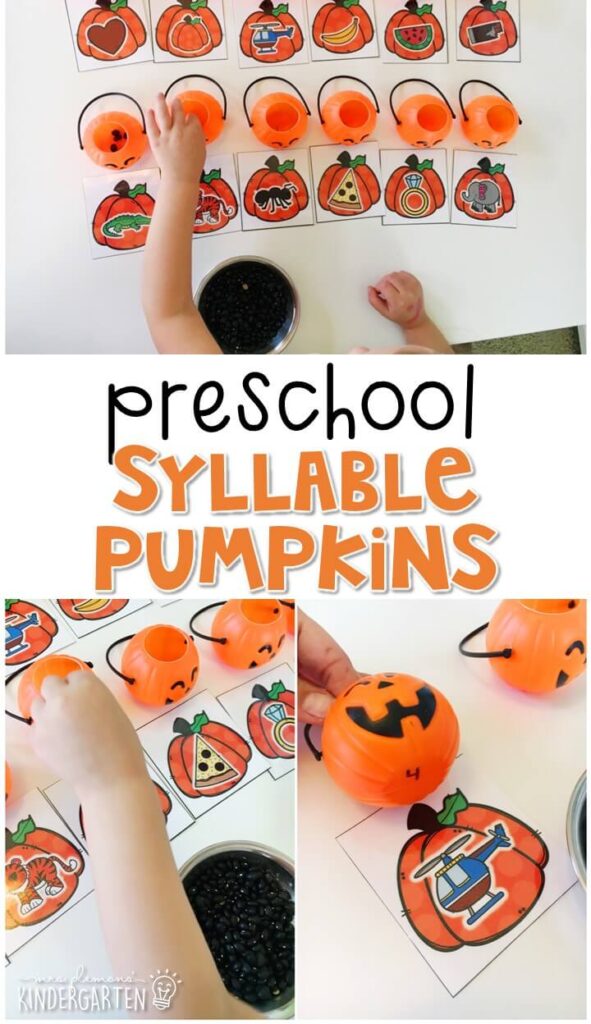
Syllable Pumpkins:
Next we practiced syllable with these cute little pumpkin buckets. I put one picture card in front of each pumpkin then wrote the number of syllables on the bottom. Madelynn clapped the syllables for each word then added a bean for each syllable to the pumpkin. Afterwards she turned the pumpkin over to see if she was correct. I definitely had to give lots of help along the way since this was only our second time practicing syllables.
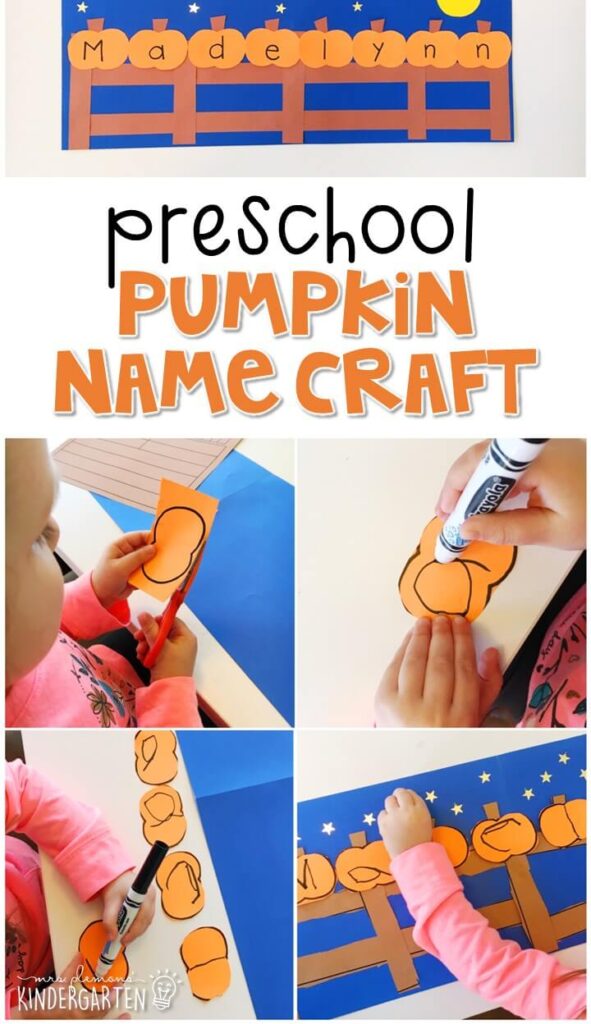
Pumpkin Name Craft:
For this week’s name craft we created pumpkins sitting on a gate. First Madelynn cut out each of the pieces. Then as she wrote the letters in her name on each pumpkin while looking at her name. After she finished writing, she glued the pieces together to create a nighttime scene. And last she added a few star stickers for the finishing touch.
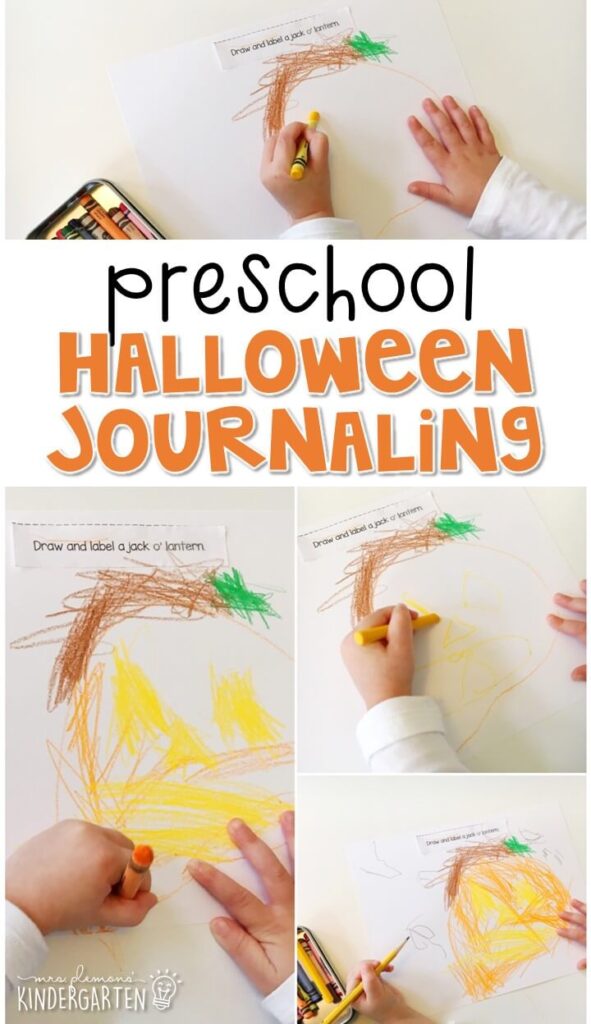
Halloween Journal Writing:
For our journal this week Madelynn chose to draw and label a jack o’ lantern. I love how her pumpkin stem looks like brown hair with a little green leaf hat. So cute! I encouraged her to add labels and she wrote P for pumpkin, J for jack o’ lantern, S for stem, and WE for leaf or “weaf” in toddler speak. 😉
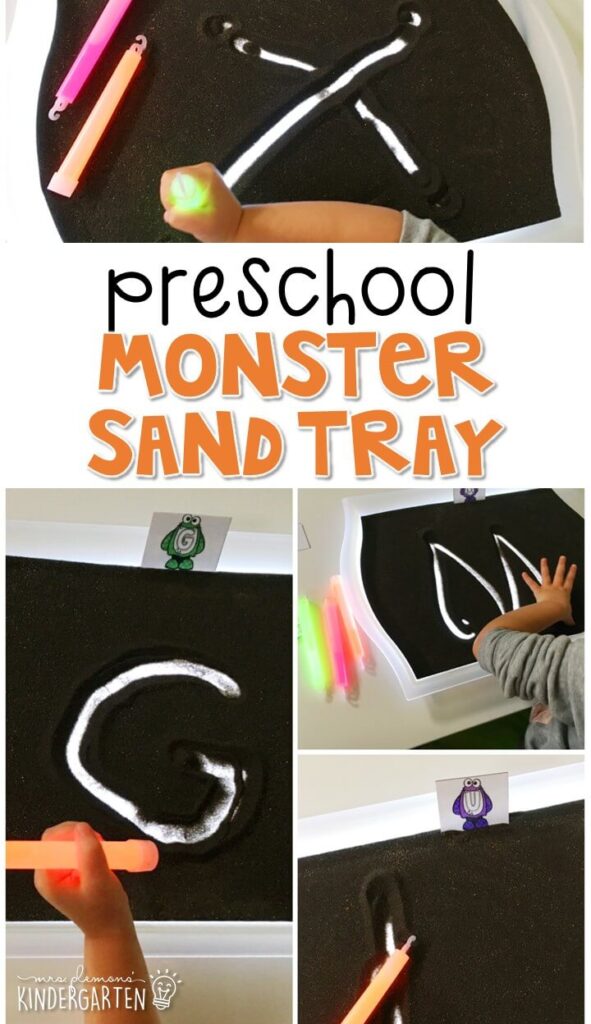
Monster Sand Tray:
For one last literacy activity this week we wrote letters on a monster themed sand tray. (I planned to do numbers but Madelynn had her own plan) First, I placed our IKEA tray on top of our light pad then filled the tray with black sand. Madelynn used monster letter cards as a model to write letters with glow sticks. This made for really cool light up Halloween fun in the dark!
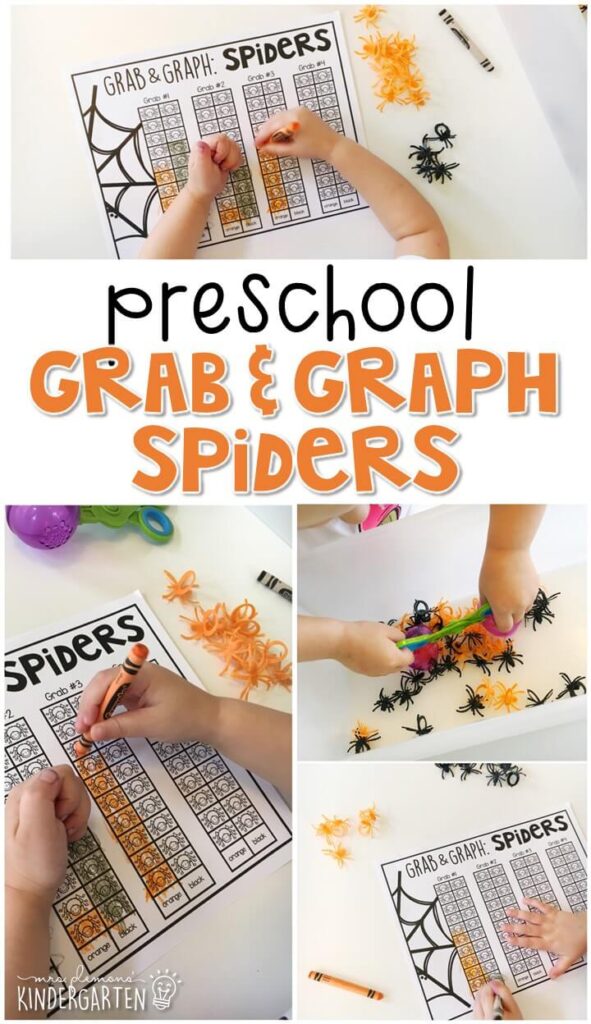
Grab and Graph Spiders:
Our new math focus for the week was graphing. I love finding all kinds of hands on engaging ways to practice graphing. To keep things simple, we started out with a picture graph with only 2 colors. I filled a bin with our plastic spider rings then Madelynn used fine motor tools to grab a scoop full of spiders. Next she sorted them. Then she counted how many of each color and filled in her graph. She repeated this 4 times for even more practice.

Color & Graph Halloween:
For our next graphing activity, Madelynn and I played I spy. First I said “I spy monsters that are green.” She then had to find the item I was thinking of, color each one, count them and color in her graph. This was a lot of steps to follow so I helped her along the way, but she really did great following along! We repeated the “I spy” game with: white things that say boo, black animals that fly at night, orange vegetables with faces, and white people all wrapped up.
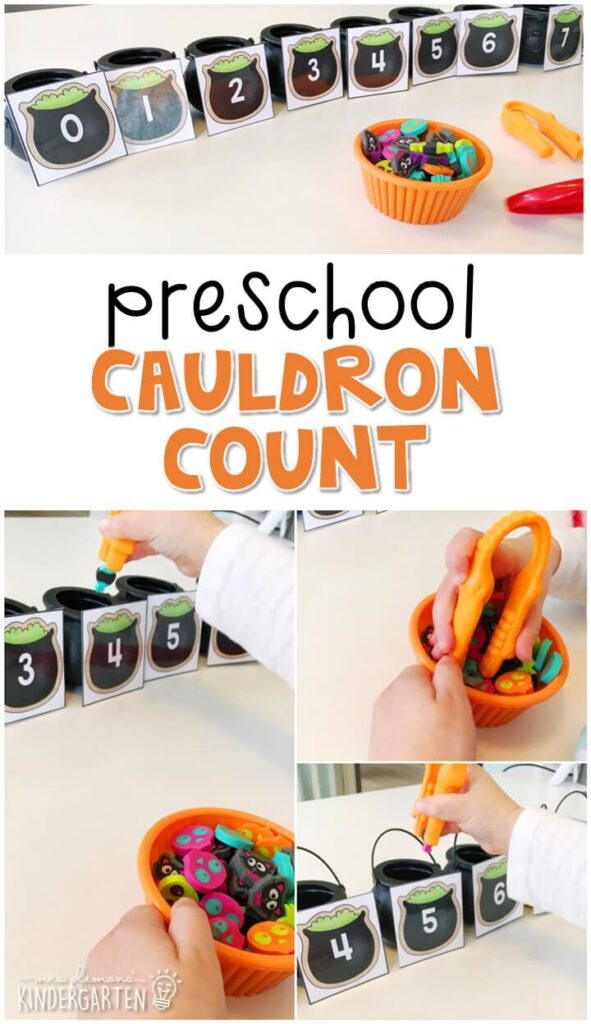
Cauldron Count:
I found these ADORABLE cauldrons and knew they’d be perfect for a counting activity. And what better to use for filling, than mini halloween erasers?!?! Thank you Target Dollar Spot! I added a number to the front of each cauldron and Madelynn used gator grabbers to pinch and count the correct number for each brew.
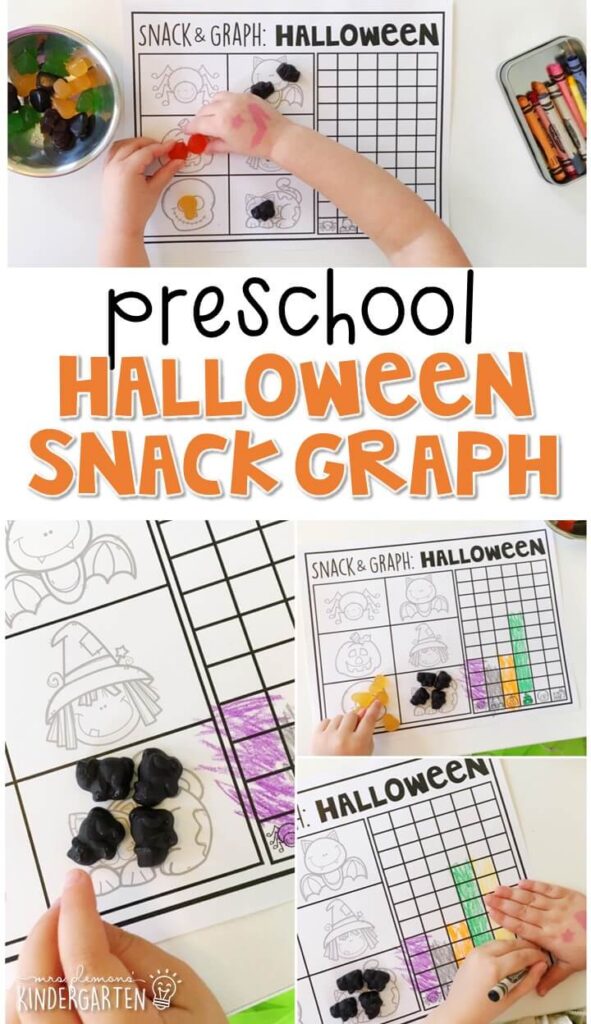
Halloween Snack and Graph:
What kid doesn’t love to play with their food? Our last graphing activity was the perfect excuse to play, learn and snack all at the same time. First I grabbed a big box of Spooky Shapes fruit snacks from Target. Then I emptied a few bags into a bowl so Madelynn would at least have more than 2 of each color to work with. She sorted, counted, graphed and snacked.
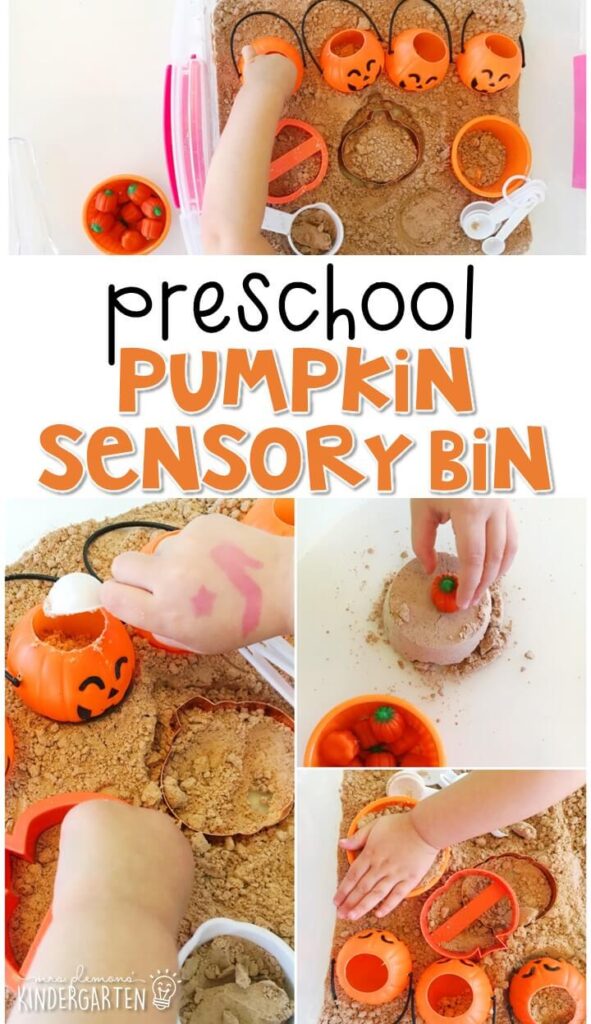
Pumpkin Theme Sensory Bin:
In this bin: Cocoa cloud dough, mini pumpkin buckets, pumpkin cookie cutters, orange ramekins, pumpkin candy
Cocoa Cloud Dough Recipe:
1 1/2 cups flour
1/2 cup cocoa powder
1/4 cup oil (any type: vegetable, peanut, canola, baby)
Mix flour and cocoa together first. Then add in oil. Add more or less oil to reach desired consistency.
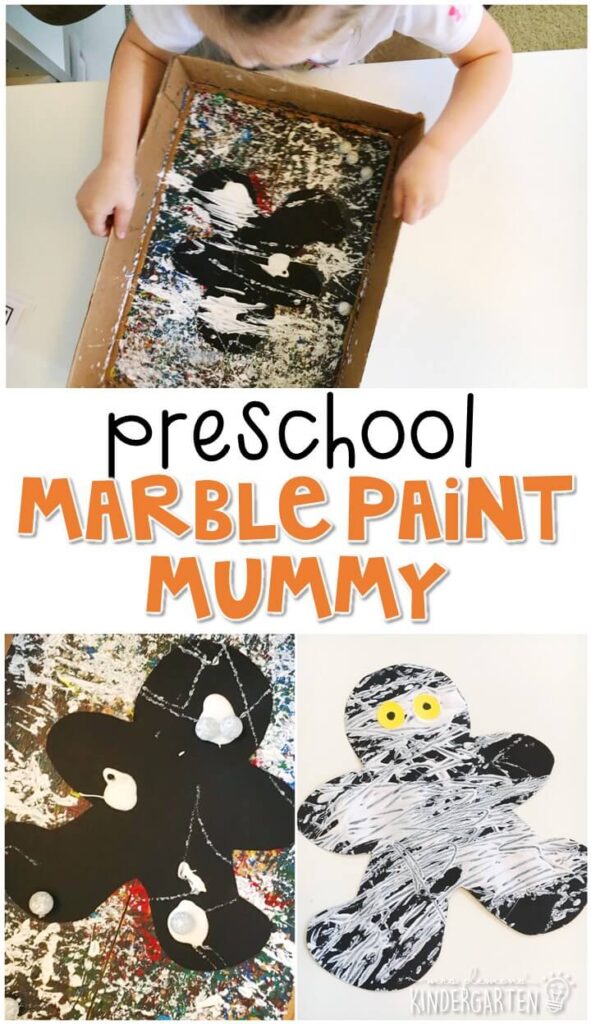
Marble Paint Mummy:
Our first craft was this super easy marble paint mummy. It was seriously so easy even little miss 18 month old Aubrey decided she wanted to make one too. First I cut out a mummy body, which Madelynn totally called me out and said it looked like a gingerbread man…Yup it’s totally a gingerbread stencil! Then, I taped it inside a box and dropped on a few globs of white paint. Madelynn dropped in some marbles and started shaking the box from side to side to create white lines all over the mummy. After the paint dried she added 2 yellow dot stickers for eyes and drew a black dot in the center.
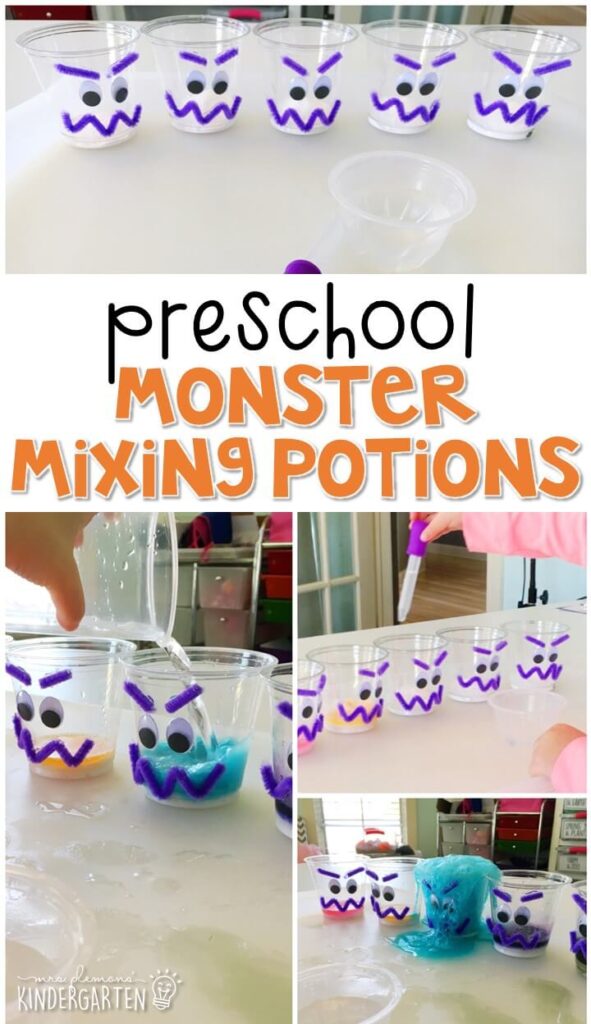
Mixing Monster Potions:
This activity was super fun to watch because I didn’t tell Madelynn what was going to happen so each monster was a surprise! To prepare the activity I glued pipe cleaners and googly eyes onto cups to make monster faces. Then I put a few drops of food coloring into 5 separate cups and lined them up. Next, I poured baking soda into each cup until the food coloring was covered (no exact measurement needed, more baking soda=more fizzy explosion.) Then I filled another cup with white vinegar, added eye droppers and set it all up on a tray for Madelynn to explore. Without any direction she knew just what to do, as soon as she started dripping vinegar into the cups they began to fizz. As she added more each color began to show through and become brighter and brighter. And of course after a while she began to dump larger amounts of vinegar into the monster cups creating even bigger, more exciting monster potion explosions.
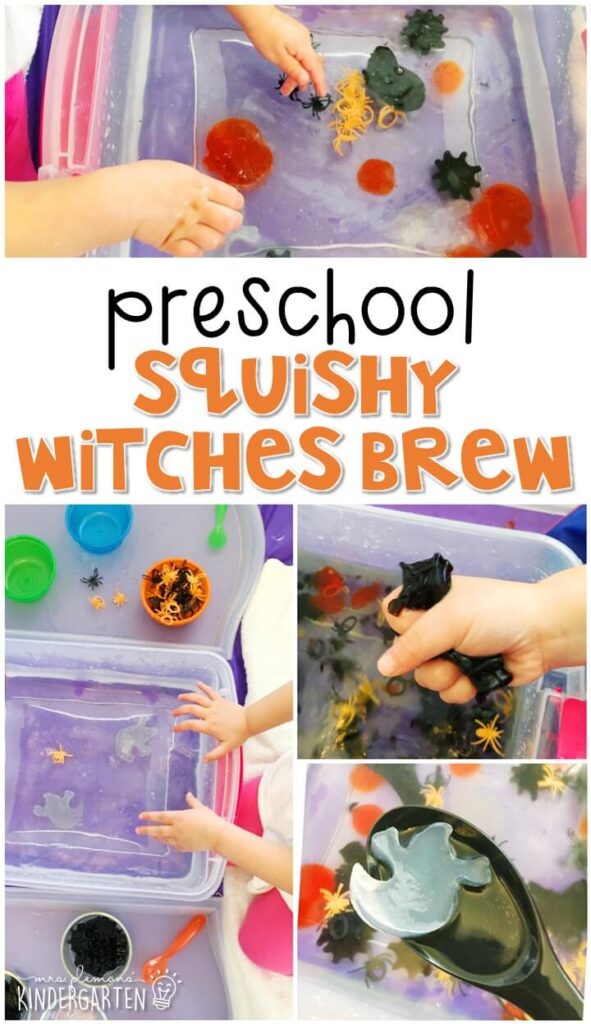
Squishy Witches Brew:
In this bin: water, gelatin Halloween shapes, plastic spider rings, spoons, bowls
Directions to make the gelatin shapes for this bin:
2 cups cool water
3 envelopes Knox Gelatine
Food coloring
Halloween Shaped silicone molds
Cooking spray
To make the squishy shapes, coat the molds in cooking spray to prevent sticking. Pour water in a small pan and add plain gelatin. Wait a couple of minutes and then heat gelatin, stirring until it’s dissolved. Color gelatin with food coloring and spoon into molds. I separated out clear for the ghosts first, then divided the rest into 2 cups to dye orange and black. Pop molds into the fridge for a few hours until set. Pop the shapes out, and use them to mix stir and add to the witches brew.
Pumpkin Patch Stamp:
Our second art activity this week was pumpkin patch stamping. First, Madelynn used a rolled up toilet paper tube to stamp pumpkin shapes with glue on a piece of paper. Next, she sprinkled orange sand on top then shook off the excess. Then, she used brown puffy paint to add stems. Last she pushed a green leaf sequin into each stem to complete her pumpkins.
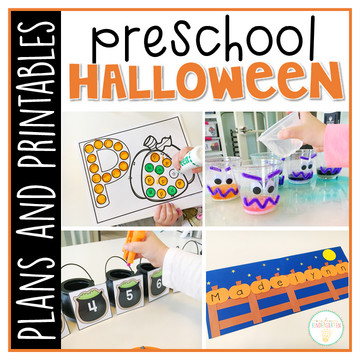
Want all of this week’s Halloween activities for preschool? You can grab them here:
On my site : Halloween Plans & Printables On TpT: Halloween Plans & Printables
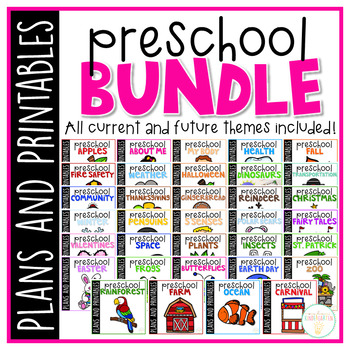
Or you can grab our entire year of themes and plans:
On my site here: Preschool Bundle On TpT here: Preschool Bundle
Then check out the rest of our 45+ themes on the Preschool Curriculum Main Page.


Leave Your Comments