
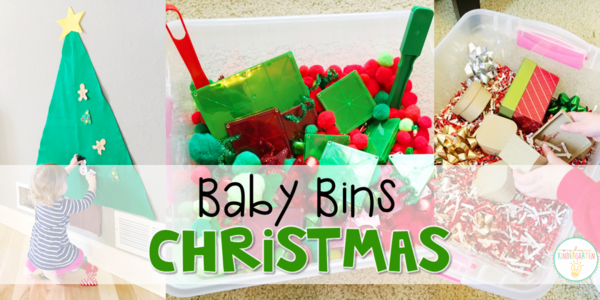
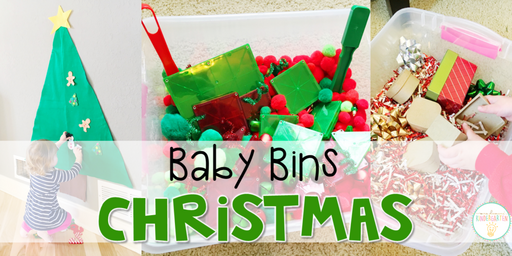
It’s finally time to share our ideas for one of my favorite themes of the year…CHRISTMAS! We had so much fun with this theme I had to split it into 2 weeks. Check out our first week of baby approved ideas!
**This post contains affiliate links for your convenience. View our full disclosure policy here.**
Here is a look at what we have planned for our first 6 seasonal themed baby bins:
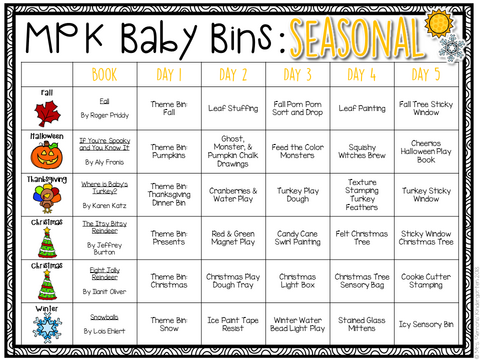
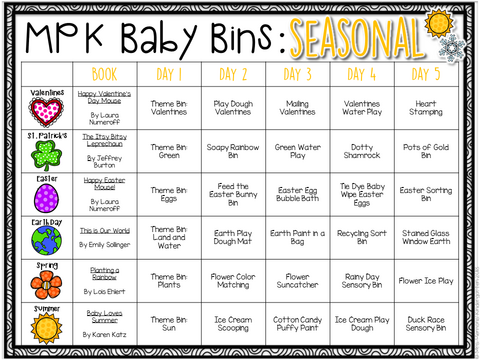
Here are the details for each of our first week of Christmas activities:
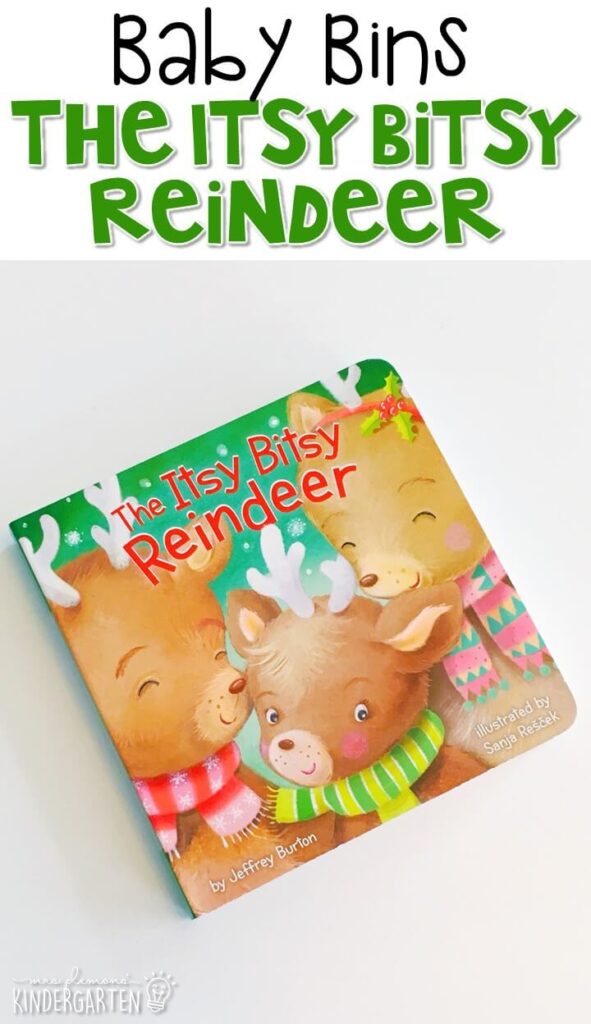
The Itsy Bitsy Reindeer:
Sometimes getting miss Aubrey to sit down for a story is more like herding cats. She is so full of energy especially during these cold winter months, that I have to pull out all the stops to slow her down. This week’s story was successful in taming the crazy with a fun song. The Itsy Bitsy Reindeer by Jeffrey Burton is a cute story that follows the tune of the itsy bitsy spider and it is short and sweet. Just how we like our baby books.
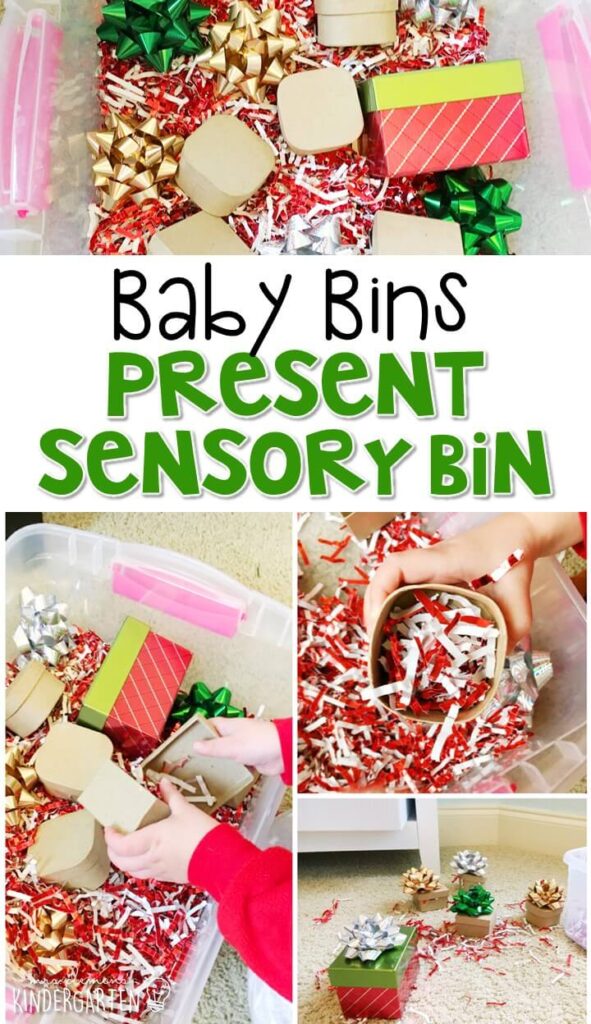
Christmas Present Theme Sensory Bin:
In this bin: shredded christmas wrapping paper (I just cut up strips and ran it through our paper shredder, easy instant sensory bin filler!), small boxes, present bows
Aubrey filled and dumped and filled and dumped, a babies dream! Of course there were paper shreds everywhere afterwards, but nothing a good handheld vacuum couldn’t take care of 🙂
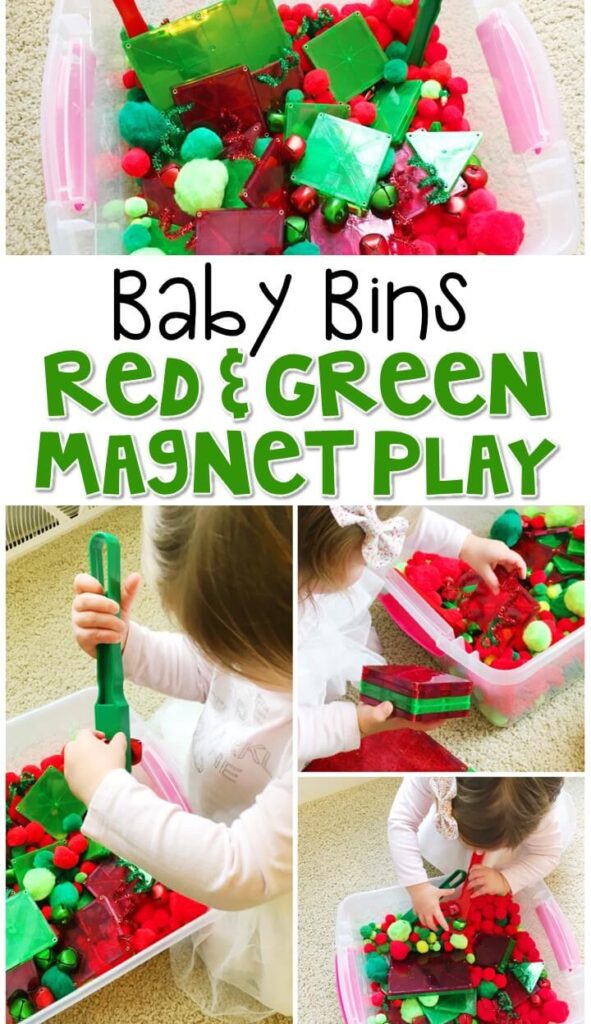
Red and Green Magnet Play:
In this bin: jingle bells, Magnatiles, magnet wands, mini ornaments, pipe cleaners, pom poms
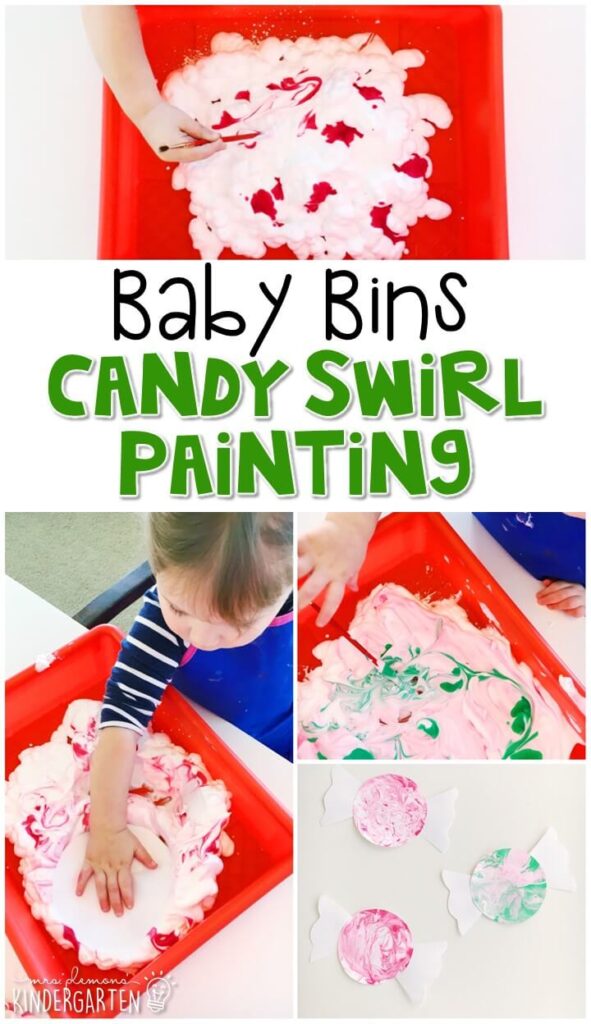
Candy Swirl Painting:
These paintings were super easy to do. First, I filled a shallow tray (thanks Target dollar spot!) with shaving cream (you could use foam soap too). Then I added a few dots of red/green watercolor paint. (Note this is NOT taste safe so keep a close on on those curious little hands!) Aubrey used a paintbrush to swirl the colors around, then she gently placed a white cardstock circle on top and patted it. I pulled it off of the shaving cream, then used a craft stick to push all of the excess cream off and reveal a swirled design. We made a bunch then allowed them to dry. After they dried we glued 2 wrapper pieces to the sides.
These paintings were super easy to do. First, I filled a shallow tray (thanks Target dollar spot!) with shaving cream (you could use foam soap too). Then I added a few dots of red/green watercolor paint. (Note this is NOT taste safe so keep a close on on those curious little hands!) Aubrey used a paintbrush to swirl the colors around, then she gently placed a white cardstock circle on top and patted it. I pulled it off of the shaving cream, then used a craft stick to push all of the excess cream off and reveal a swirled design. We made a bunch then allowed them to dry. After they dried we glued 2 wrapper pieces to the sides.
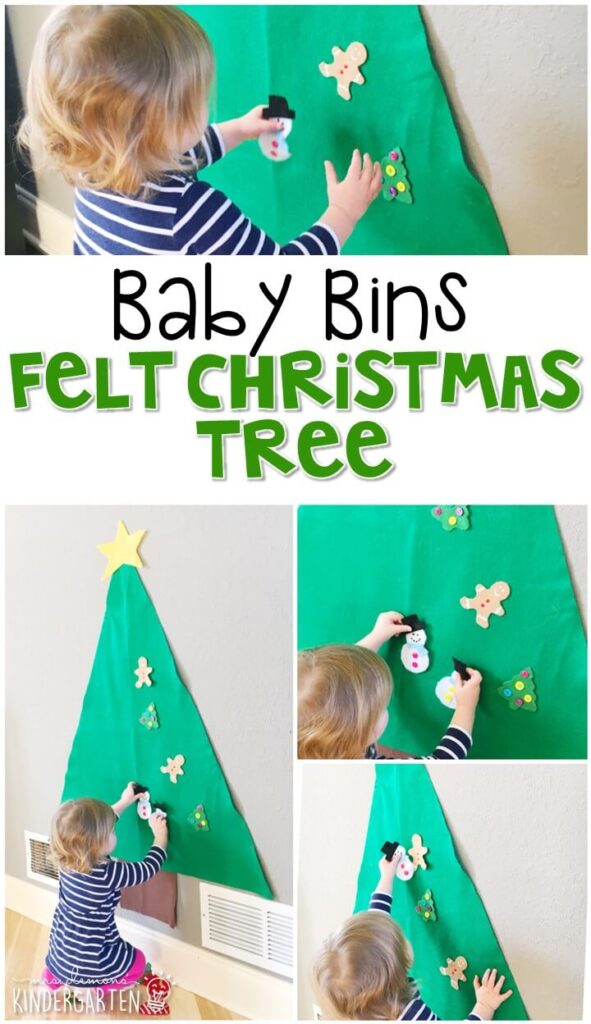
Felt Christmas Tree:
I made this little tree for Madelynn when she was just a year old and it’s still going strong. She loves to stick and decorate her tree, and it saves the real tree from being man handled on the daily (well…at least a little bit.) You can buy a premade version or make your own with cut up felt, puffy paint, some hot glue and buttons.
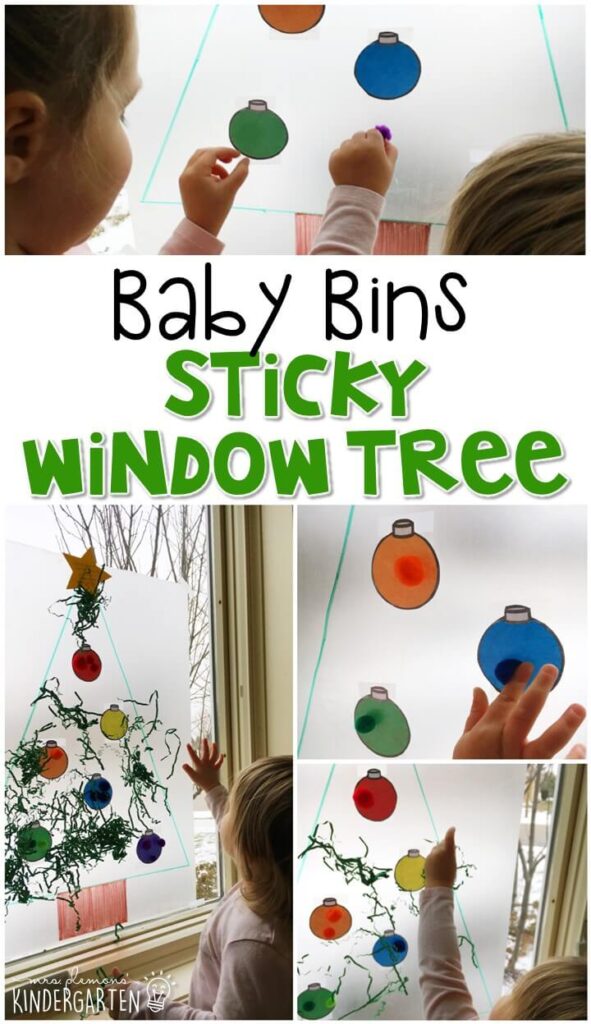
Sticky Window Christmas Tree:
Our last activity of the week was Aubrey and big sister approved! I drew a large Christmas tree on the non-sticky side of a sheet of contact paper and stuck color ornaments to the tree so the color side will show through the paper when it is taped sticky side out. After taping it to the window, Aubrey went to town sticking mini pom poms to the ornaments and sticky paper. To complete the tree she added green paper shreds to fill in some texture.
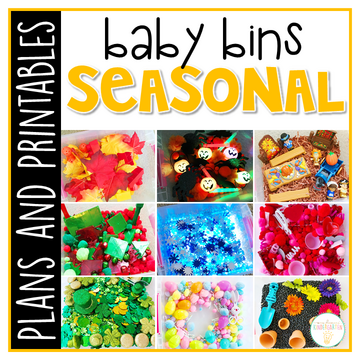
Want all of this week’s seasonal themed activities for baby bins? You can grab them here:
On my site : Baby Bins: Seasonal {Plans and Printables}
On TpT: Baby Bins: Seasonal {Plans and Printables}
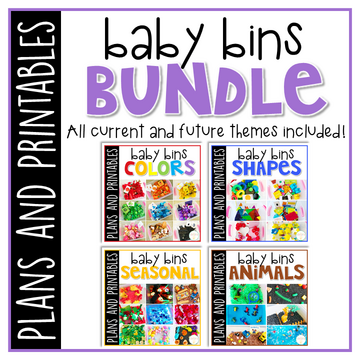
Or you can grab our entire year of themes and plans:
On my site here: Baby Bin Bundle On TpT here: Baby Bin Bundle
Then check out the rest of our 35+ themes on the Baby Bins Curriculum Main Page.


Leave Your Comments